
The Raspberry Pi Zero 2 and Zero 2 W are tiny, inexpensive boards that pack a surprising punch for retro gaming. While they aren’t suited for high-end emulation, they handle 8-bit and 16-bit systems extremely well. With some creativity and a few extra parts, you can build your own gaming hardware that recalls the best of the arcade and console eras.
These projects range from plug-and-play living room setups to full-on handheld builds. Whether you want something portable, nostalgic, or just fun to tinker with, the Pi Zero offers plenty of flexibility. Here are five satisfying retro gaming projects you can build around one of the smallest boards in the Raspberry Pi family.
Related
5 projects you can complete in a weekend with the $8 Raspberry Pi Pico 2 W
The Raspberry Pi Pico is small but powerful, and you can build a number of projects using it over the weekend
5 Build a pocket-sized retro console
Emulate Game Boy, NES, and more in your pocket
If portability is your goal, building a handheld console with a Pi Zero is a fantastic option. Kits like the RetroFlag GPi Case 2 W make this incredibly approachable, offering a Game Boy-inspired shell that’s built specifically for the Zero. It includes a backlit screen, cartridge-style Pi bay, and functional shoulder buttons, all wrapped in a nostalgic design. Once you’ve flashed RetroPie or EmulationStation to a microSD card, you’re ready to load up your ROMs and start playing.
This kind of build is great for NES, SNES, and Game Boy games, and with careful setup, you can even run some PlayStation 1 titles. The Pi Zero’s low power draw makes it ideal for battery-powered builds. You can install a rechargeable LiPo pack inside the shell and play for hours without needing a charge. It’s also compact enough to fit in a pocket or small bag for gaming on the go.
If you prefer to customize more, you can 3D print your own case and wire the buttons directly to the Pi’s GPIO pins. While this takes more effort and time, it gives you complete control over the form factor and layout. With the right screen and controls, you’ll have a fully custom handheld emulator that’s small, powerful, and built entirely to your taste.
4 Convert a dead Game Boy into a Pi console
Give new life to a non-working classic shell
Have a broken Game Boy lying around? Instead of letting it gather dust, you can gut it and turn it into a modern emulator. The Raspberry Pi Zero fits nicely inside most original Game Boy shells, especially the Game Boy Pocket or Game Boy Color. Add a small TFT or IPS screen, some new buttons, and a charging circuit, and you’ve got a fantastic mashup of old and new.
Modding communities offer custom PCBs that make this process easier. These boards connect buttons and screen components directly to the Pi, often including audio and power handling as well. With one of these kits, you don’t need much soldering experience to get solid results. A bit of Dremel work helps fit everything snugly inside the original shell without too many compromises.
The end result is a classic-looking Game Boy with modern emulation power inside. It plays more systems than the original ever could, all while preserving the look and feel of a true handheld classic. This build is a bit more involved than most, but it’s gratifying for retro fans who want to keep the original hardware alive in spirit.
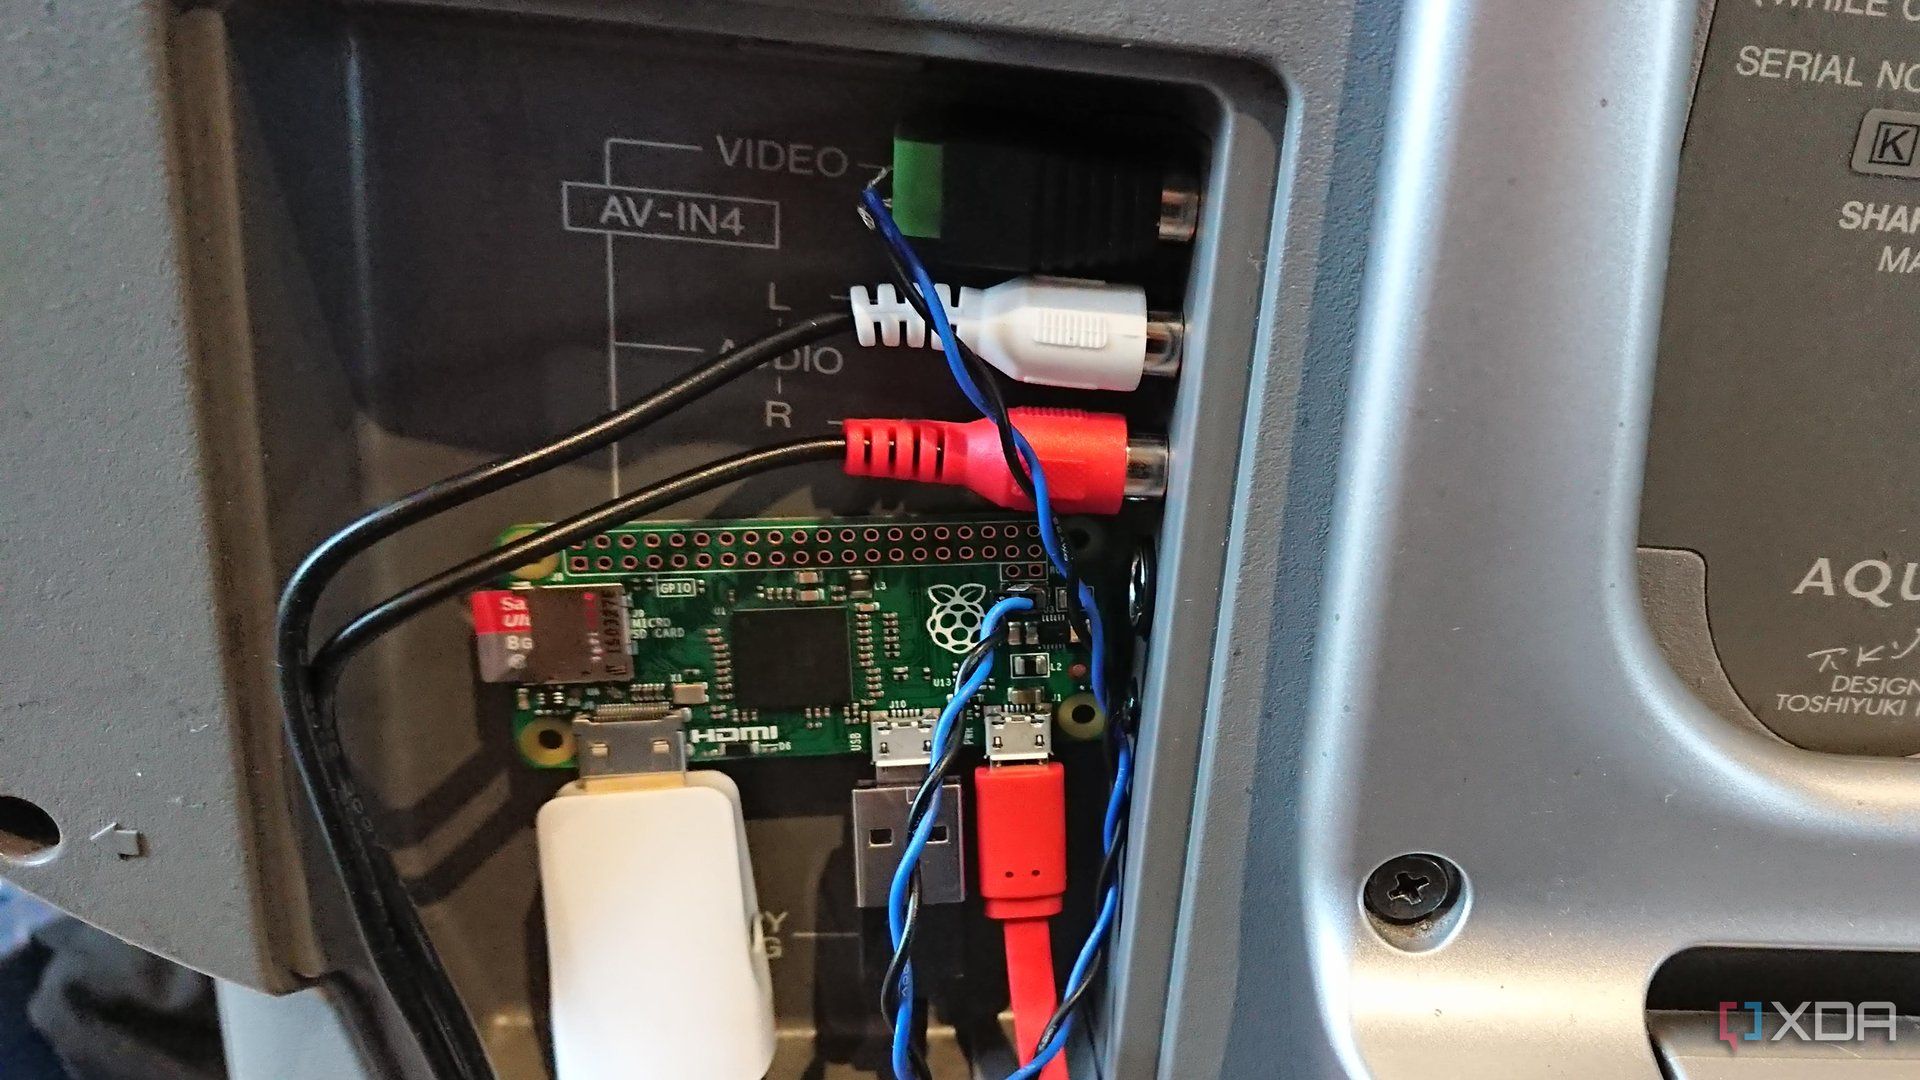
3 Build a retro TV console box
Turn your Pi Zero into a plug-and-play emulator
Sometimes the simplest ideas are the most satisfying. A Pi Zero makes a great living room emulator box that plugs into your TV and boots straight into RetroPie or EmulationStation. You only need a microSD card, a mini-HDMI cable, and a USB or Bluetooth controller to get started. The setup is easy, and it’s a great way to revisit classic consoles like NES, SNES, and Sega Genesis.
Related
To give it some flair, many people use themed enclosures. You can 3D print mini versions of classic systems or hollow out an old cartridge to hold the Pi. Some even build their emulator inside an old game controller for a truly compact setup. These builds make great gifts or conversation pieces, especially when paired with retro-style controllers.
Wireless controllers work well if you’re using the Pi Zero W, which has built-in Bluetooth and Wi-Fi. That also makes it easier to transfer ROMs and tweak settings without constantly swapping the SD card. This project is affordable, beginner-friendly, and surprisingly polished once it’s all put together.
2 Create a dedicated arcade cabinet
Make a mini arcade machine that runs classic games
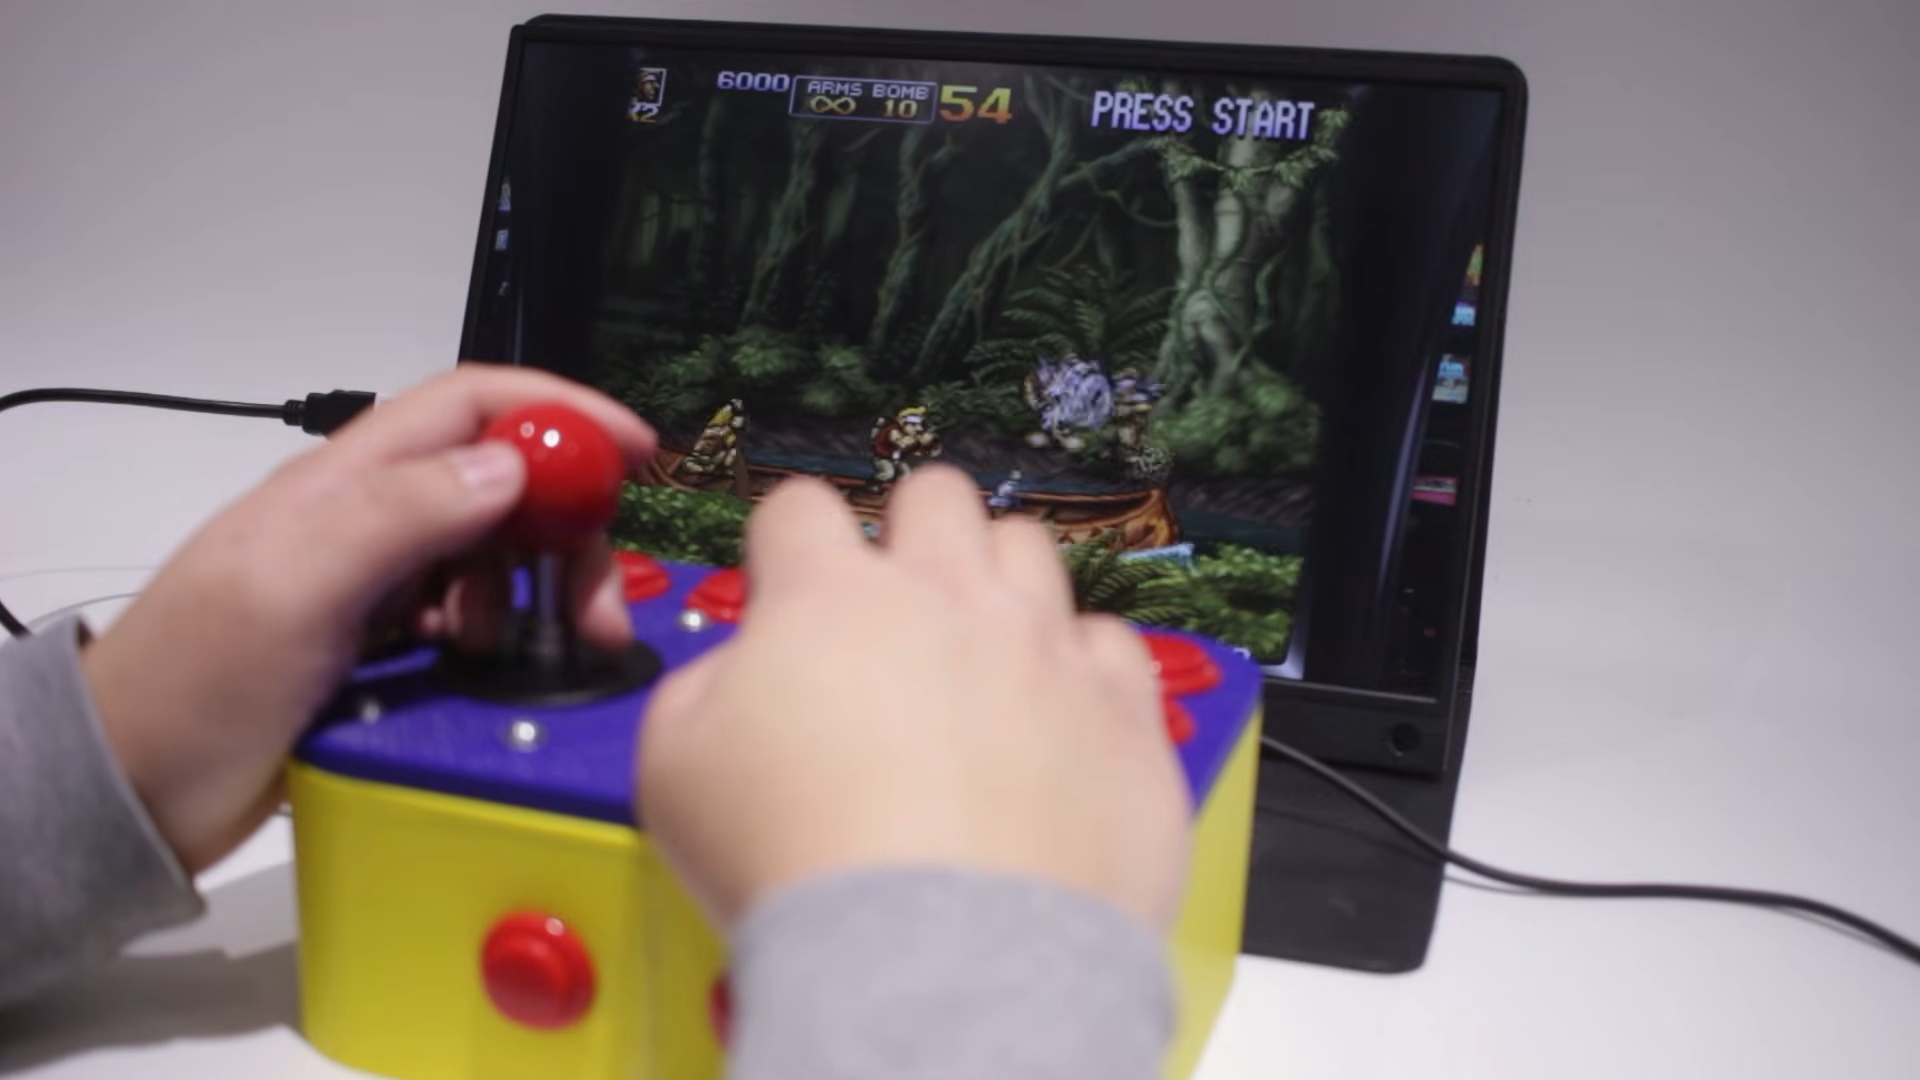
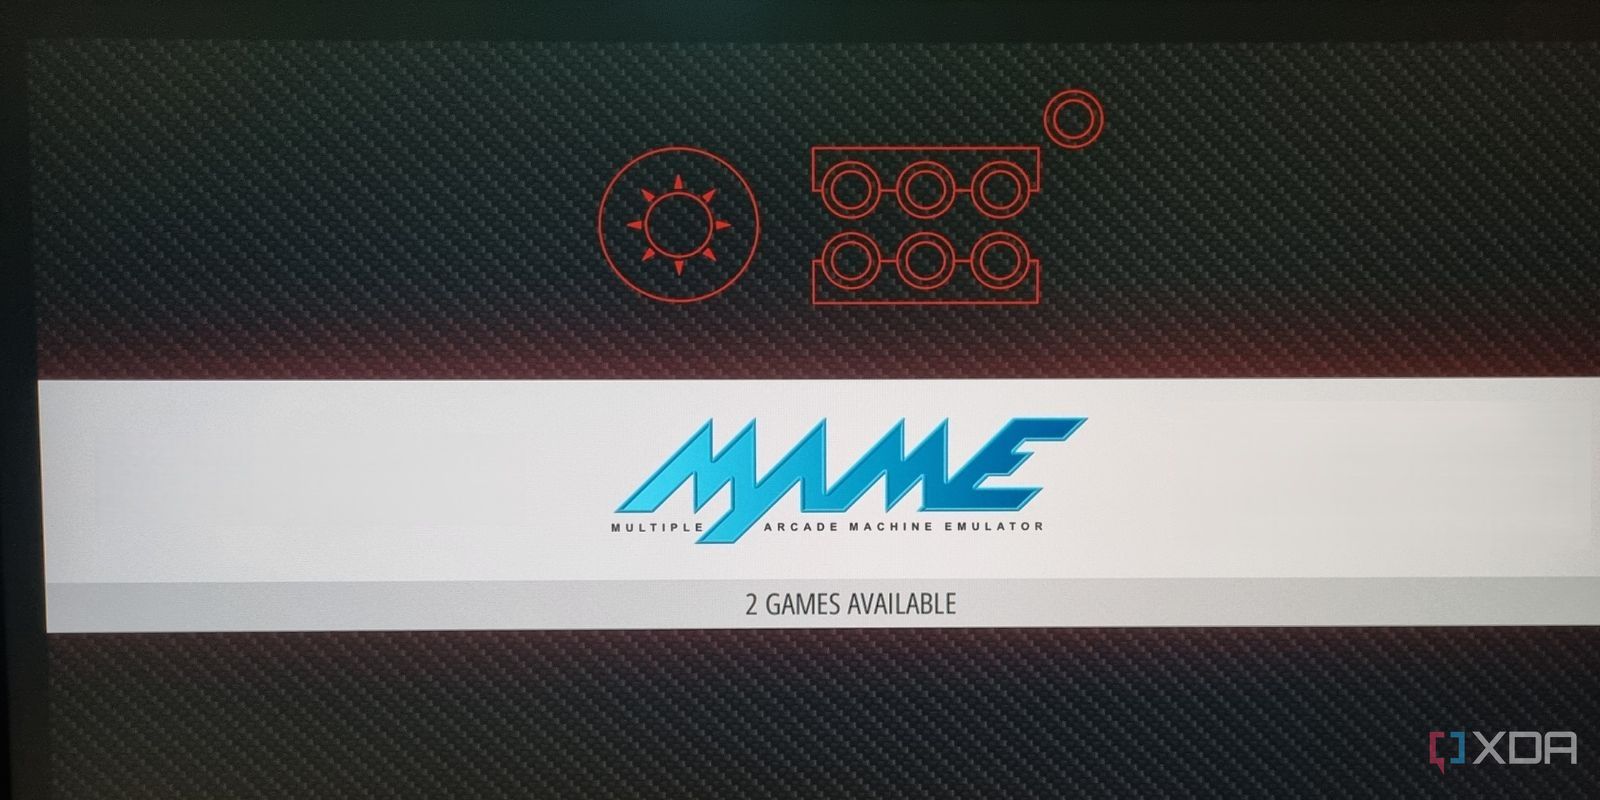
A Pi Zero is more than capable of powering a dedicated arcade setup, especially for classics like Galaga, Pac-Man, or Street Fighter II. You can build a mini arcade cabinet using wood, acrylic, or 3D-printed parts and fit it with a small screen and arcade-style buttons. These compact machines are perfect for desks or shelves and feel authentic with a joystick and six-button layout.
Most mini arcade kits work with USB encoder boards that plug into the Pi, simplifying the wiring process. You can use a 5- or 7-inch HDMI screen mounted inside the cabinet, and a small speaker or USB sound module completes the experience. The Pi boots into an arcade front-end, and you’re ready to pick your game using real arcade controls. It’s surprisingly immersive, even on a small scale.
For something larger, you can repurpose old furniture or buy bartop arcade cabinet kits. While the Pi Zero isn’t ideal for newer arcade systems, it runs 8-bit and 16-bit games without breaking a sweat. These builds look great, play great, and make a fun addition to any gaming room or office.
1 Turn it into a retro streaming stick
Stream games from a PC to your TV with Moonlight
If emulating directly on the Pi Zero feels too limiting, you can flip the script and use it as a receiver. With Moonlight, the Pi Zero can stream games from a powerful PC to your TV over your local network. This works exceptionally well for retro games running on DOSBox, SCUMMVM, or other low-latency systems. It’s a neat workaround that makes your Pi part of a larger retro gaming setup.
You’ll need to install a lightweight OS like DietPi or Raspberry Pi OS Lite and set up Moonlight to connect to your PC. Once paired, the Pi acts like a streaming client and mirrors the game screen while sending your controller input back. It’s fast, responsive, and surprisingly smooth on a good network connection. You can even pair a Bluetooth controller for a completely wireless experience.
This setup doesn’t rely on the Pi’s limited processing power, which means it can handle more demanding games without breaking a sweat. It also gives you a reason to reuse an older Pi Zero that might be sitting in a drawer. For couch gaming or secondary displays, this streaming stick method is a creative and low-cost option.
Big gaming ideas from a small board
The Raspberry Pi Zero may not be the most powerful device in the Pi lineup, but it punches well above its weight for retro gaming. With just a bit of creativity and the right components, you can bring classic systems back to life in ways that feel personal and rewarding. Whether you prefer handheld consoles, home arcade cabinets, or simple TV boxes, the Pi Zero makes it all accessible. It’s a great board to experiment with, especially if you have older hardware or enjoy building custom enclosures. Even today, it remains one of the best tools for compact, nostalgic gaming projects.
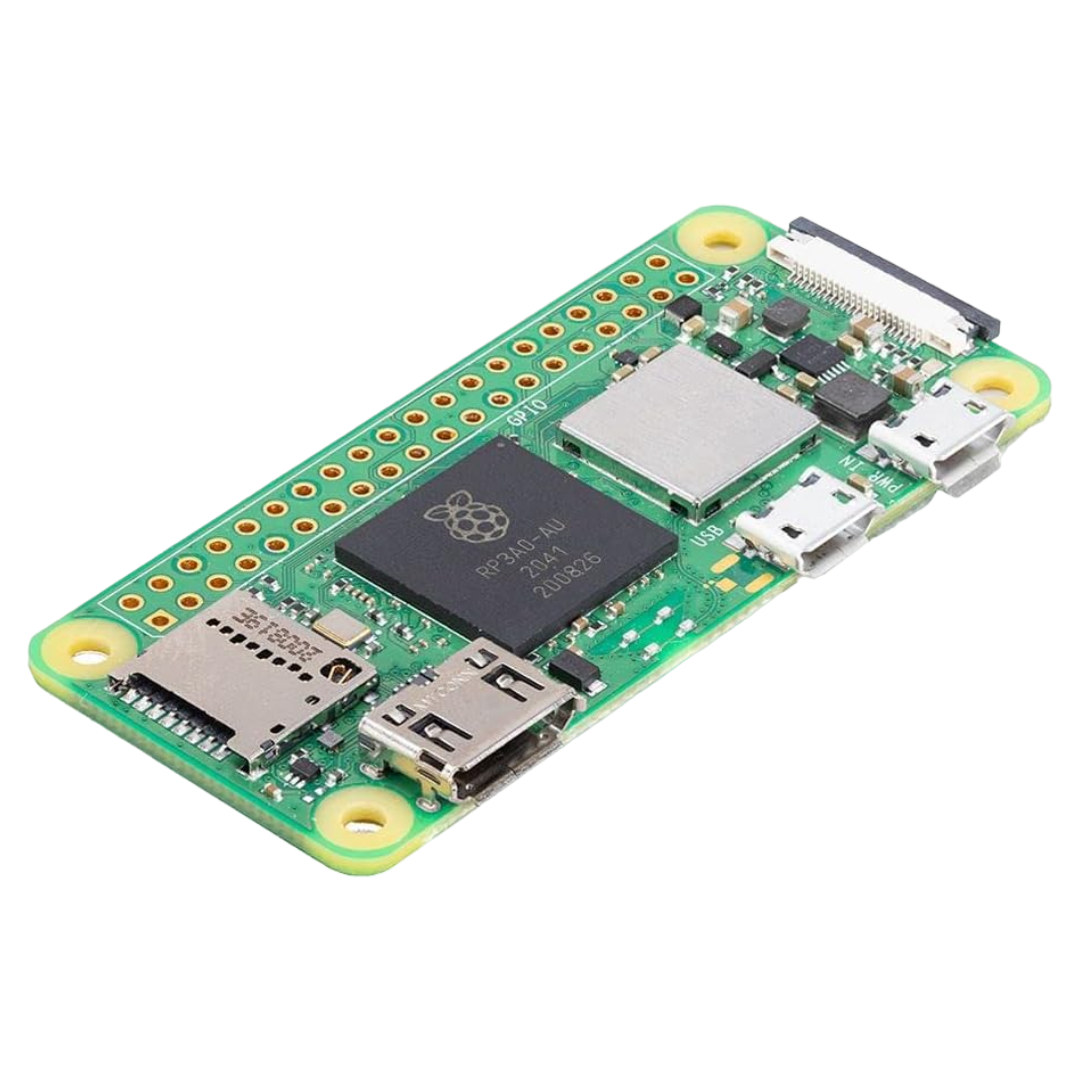
Raspberry Pi Zero 2 W
This half-sized Raspberry Pi is perfect for handheld retro gaming projects and more.