
When it comes to quirky home lab projects, there’s no shortage of wacky ideas you can bring to life. Just a few weeks ago, I tried building a Hackintosh on my Intel N100 SBC, which didn’t go all that well. On the flipside, I recently tried using GhostBSD, a FreeBSD-based distribution, as my daily driver, and was pleasantly surprised by its simple UI, responsive nature, and solid app compatibility.
Speaking of using an unconventional setup as a daily driver, I also tried running a Proxmox-powered Windows 11 VM as my primary system for a while. And I don’t just mean for coding workloads – I’ve been doing that for ages. I’m talking about actually gaming on the virtual machine – something I considered ridiculous upon first thought. However, I can confirm that this setup is more than plausible, provided you’re willing to spend some time bringing all the right pieces into place.
4 Enable IOMMU in the motherboard BIOS
The project would fail without this crucial setting
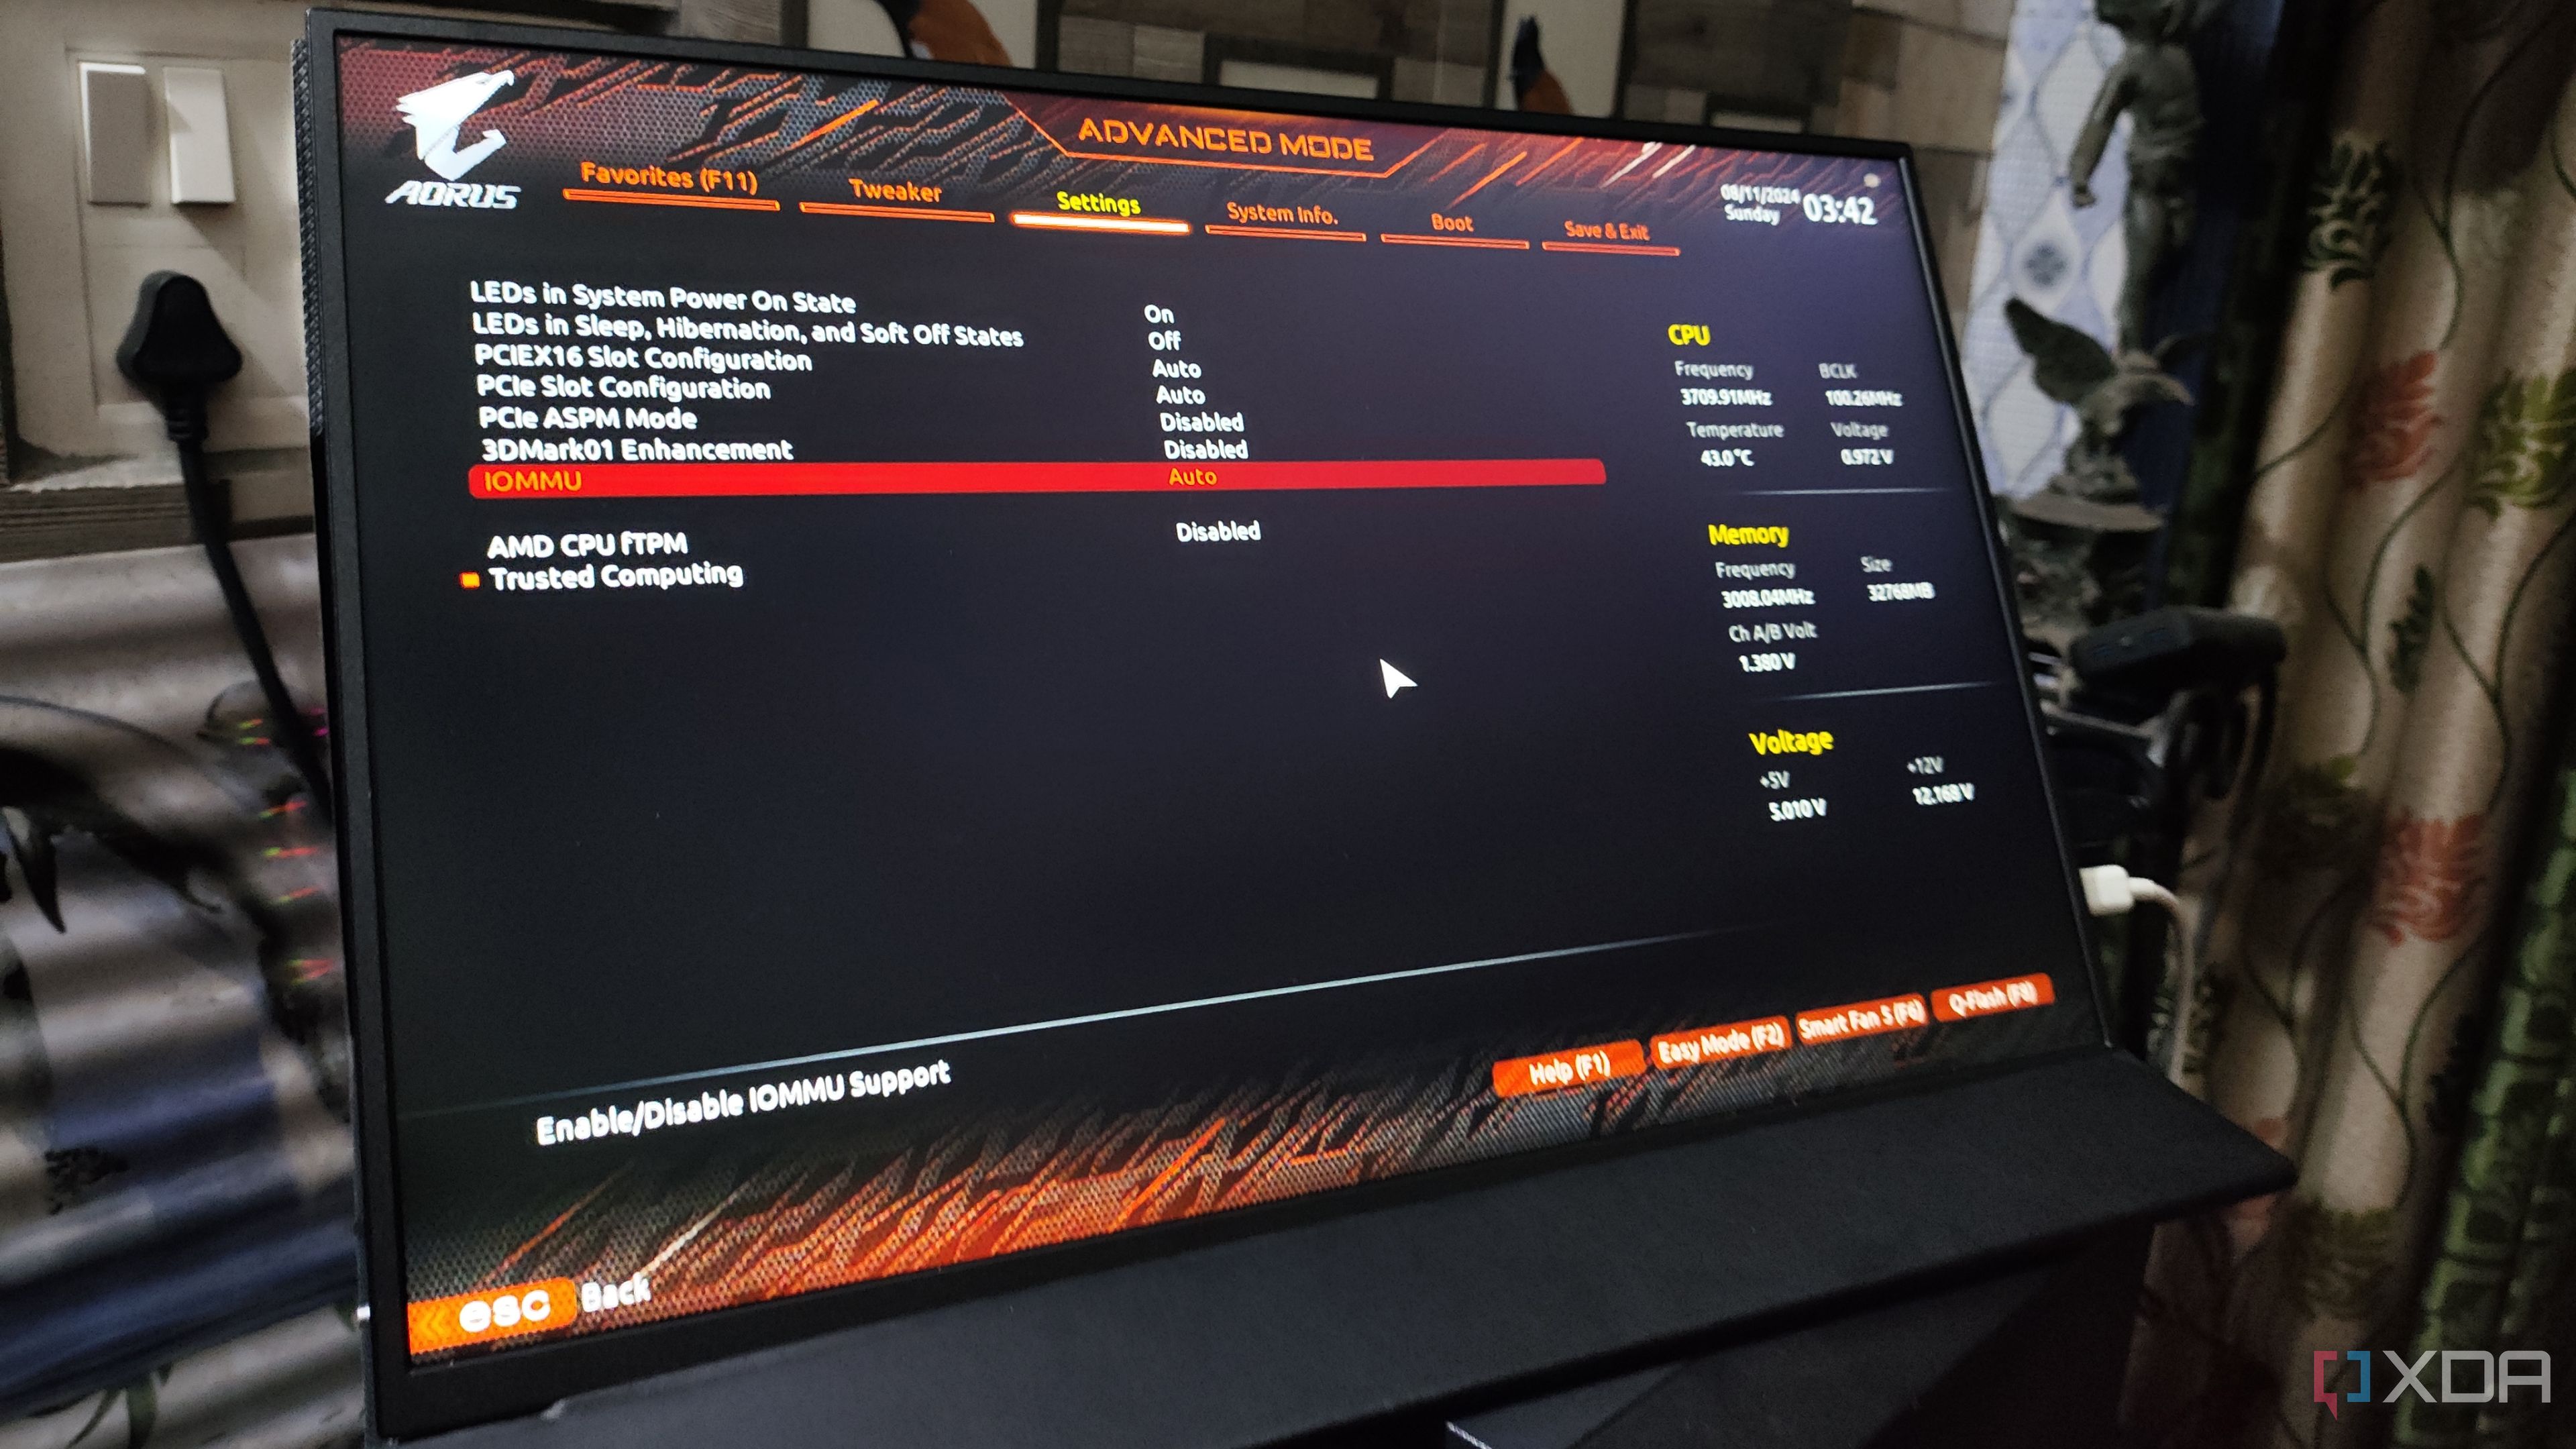
If you’ve ever used hypervisors in the past, you’ve definitely enabled SVM, Intel VT-x, AMD-V, or any of the other monikers used by virtualization in your motherboard’s BIOS. But if you’re planning to build a virtual machine centered around gaming, you’ll need to toggle another setting inside the BIOS: IOMMU. Short for Input-Output Memory Management Unit, this complex-sounding setting lets your virtual machines access the memory addresses associated with your I/O devices – and you’ll need it to enable GPU passthrough on your Proxmox VM.
You’ll also want to edit the GRUB bootloader inside Proxmox to enable IOMMU on the virtualization platform, and doing so is as simple as appending GRUB_CMDLINE_LINUX_DEFAULT=”iommu=pt” inside the /etc/default/grub file. Unfortunately, not every motherboard has flawless IOMMU support. In my case, my X99 motherboard technically supports this facility, but its implementation is so flawed that I had to switch to a B450 motherboard when building this project.
3 Pass a GPU to the VM
A little difficult, but doable on most systems
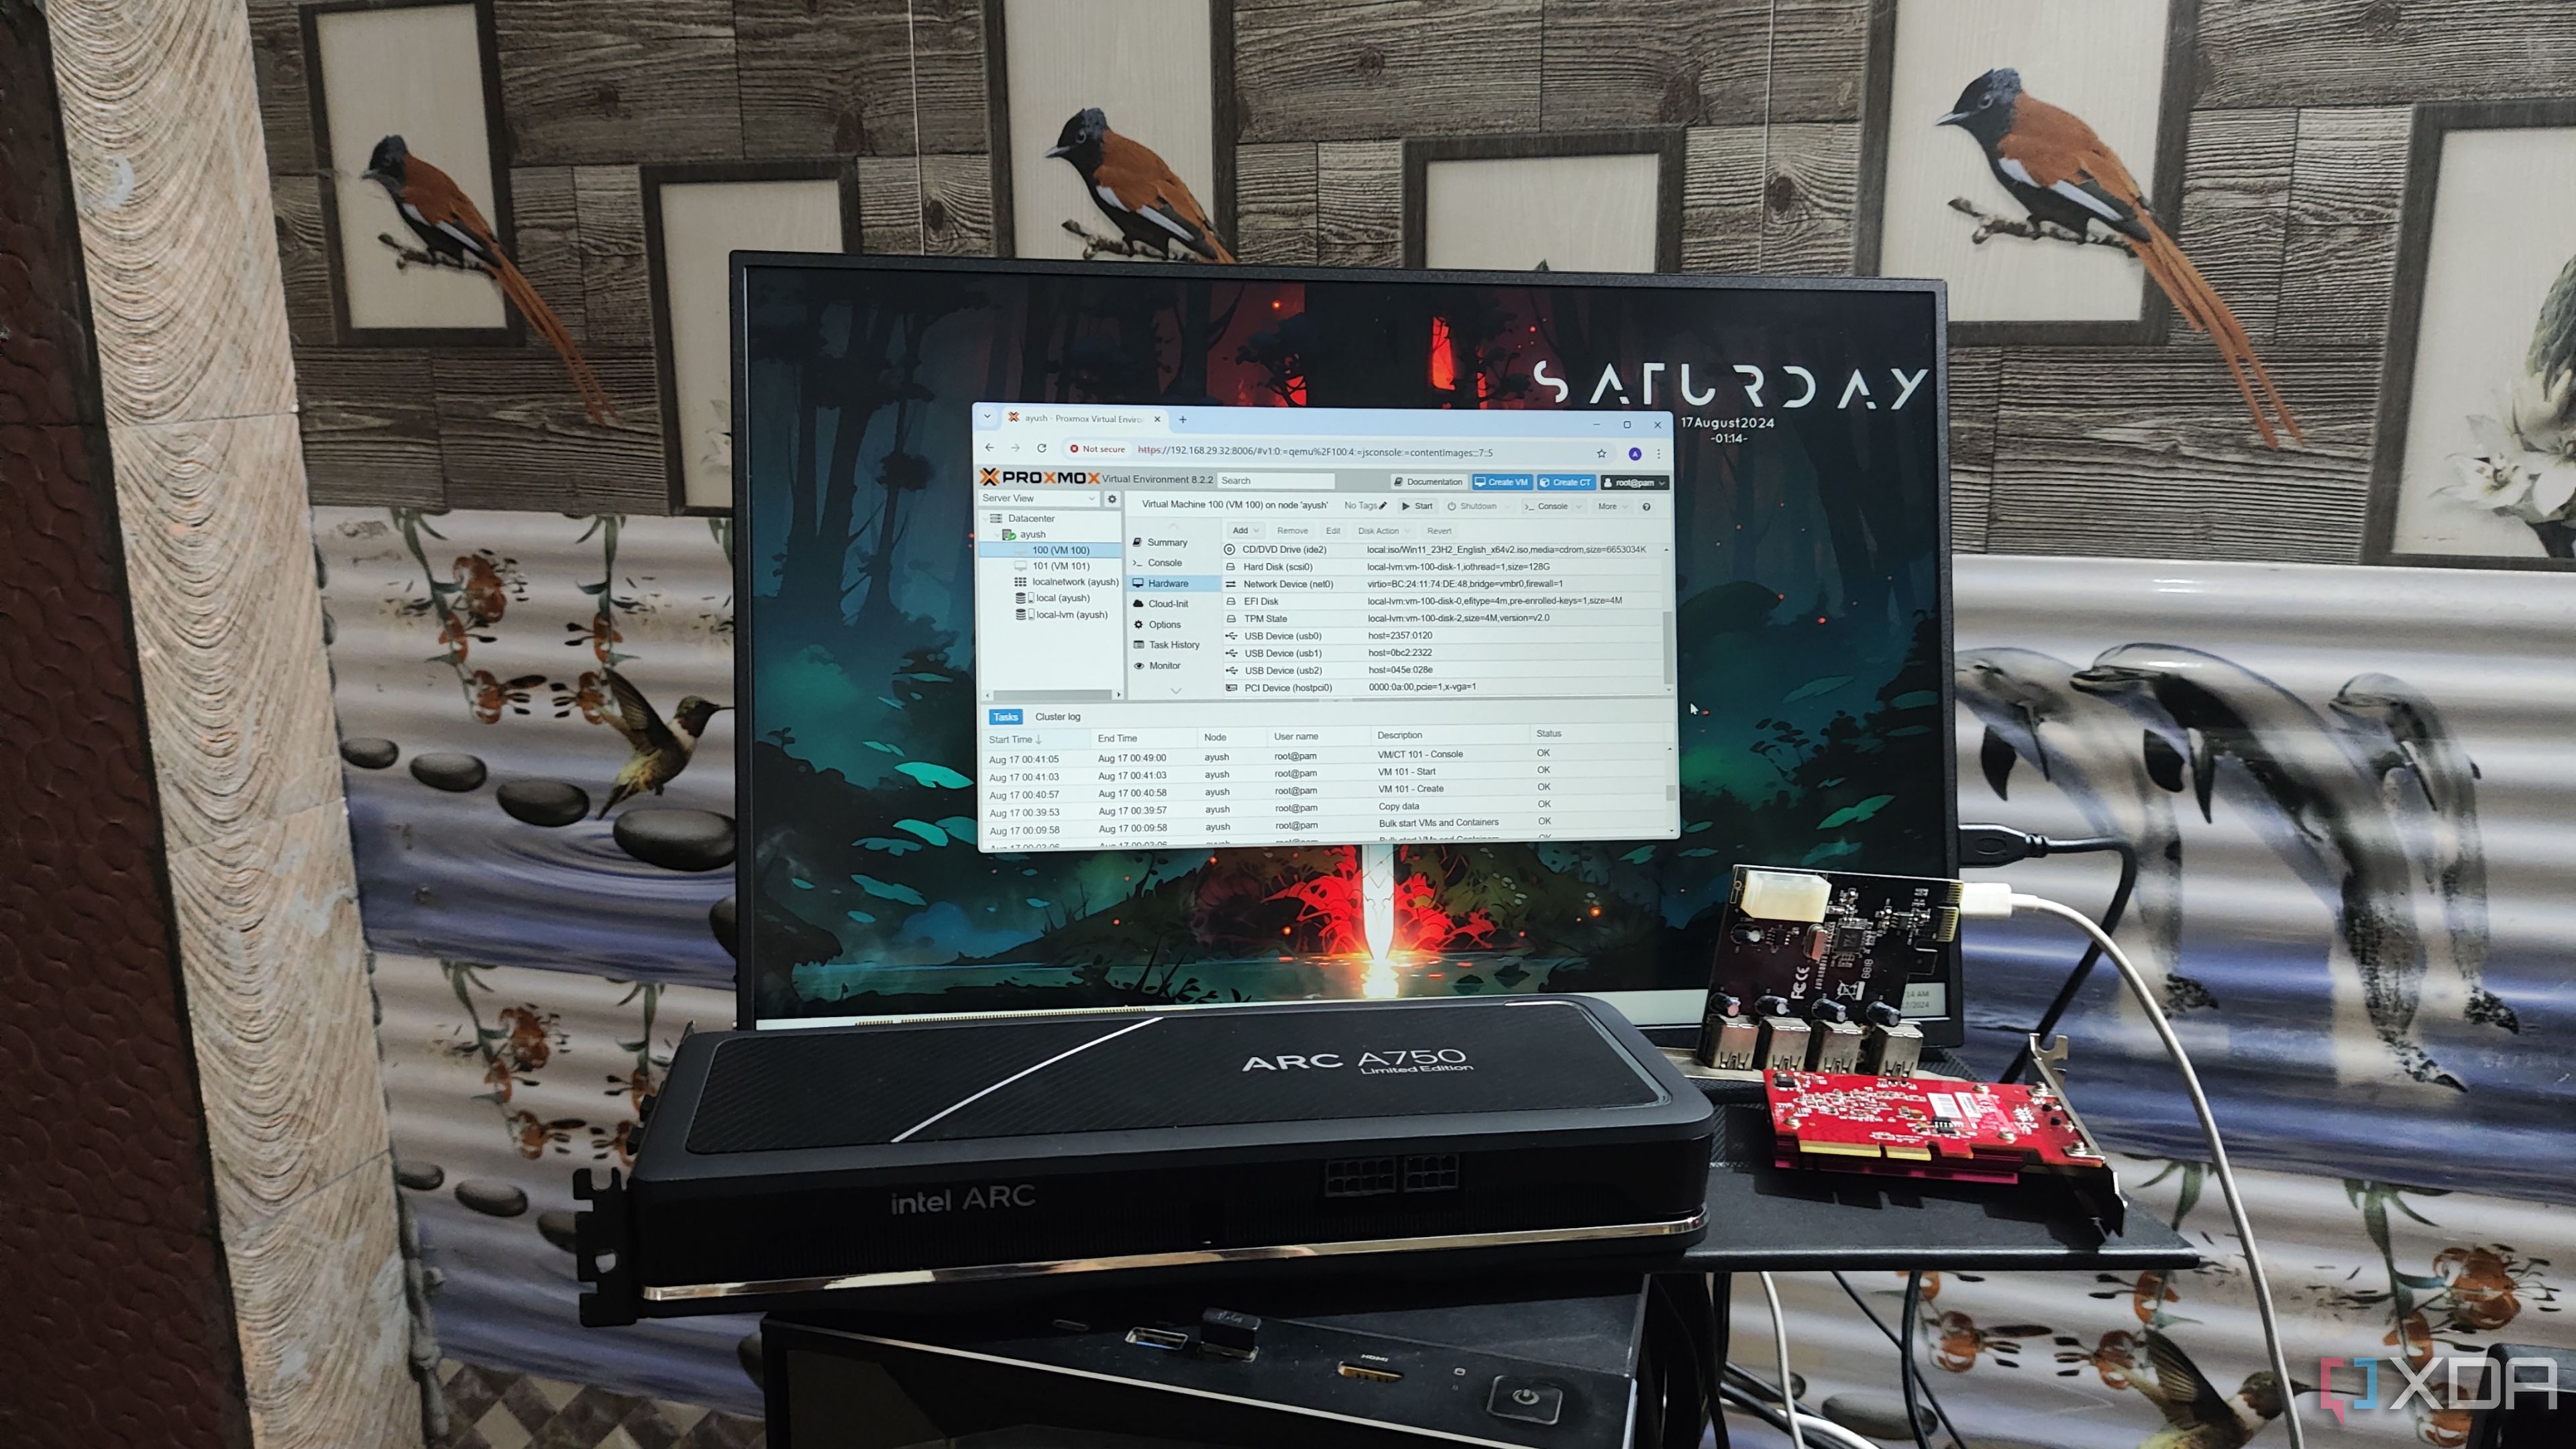
The trickiest part of the entire setup was assigning a graphics card to a virtual machine. Just to make things extra insane, I went with an Intel GPU instead of its Nvidia counterpart, though my experiment eventually paid off as I was able to access the graphics card on the virtual machine. Like other PCI devices, I had to add some vfio variables to the /etc/modules file.
Then, I had to append the blacklist i915 line inside /etc/modprobe.d/blacklist.conf to prevent my Proxmox hub from accessing the GPU when it’s already paired to a VM. Afterward, I executed the lspci -n -s command followed by the PCIe ID of my Intel card and its associated features, which I found by running lspci -v. Finally, I opened the /etc/modprobe.d/vfio.conf file and added the options vfio-pci ids=Device_1,Device_2 disable_vga=1 line, where Device_1 and Device_2 point to my GPU drivers.
It may seem like a handful, but if you’ve already set up IOMMU beforehand, you shouldn’t run into any compatibility issues. At least, I didn’t, and I’ve successfully enabled GPU passthrough using three different graphics cards across four systems.
Related
How to enable PCI passthrough in Proxmox?
If you’re willing to go the extra mile, you can even configure your Proxmox VMs to harness the superior computing prowess of your GPU!
2 Deploy the virtual machine on an SSD
Instead of relying on a slow hard drive
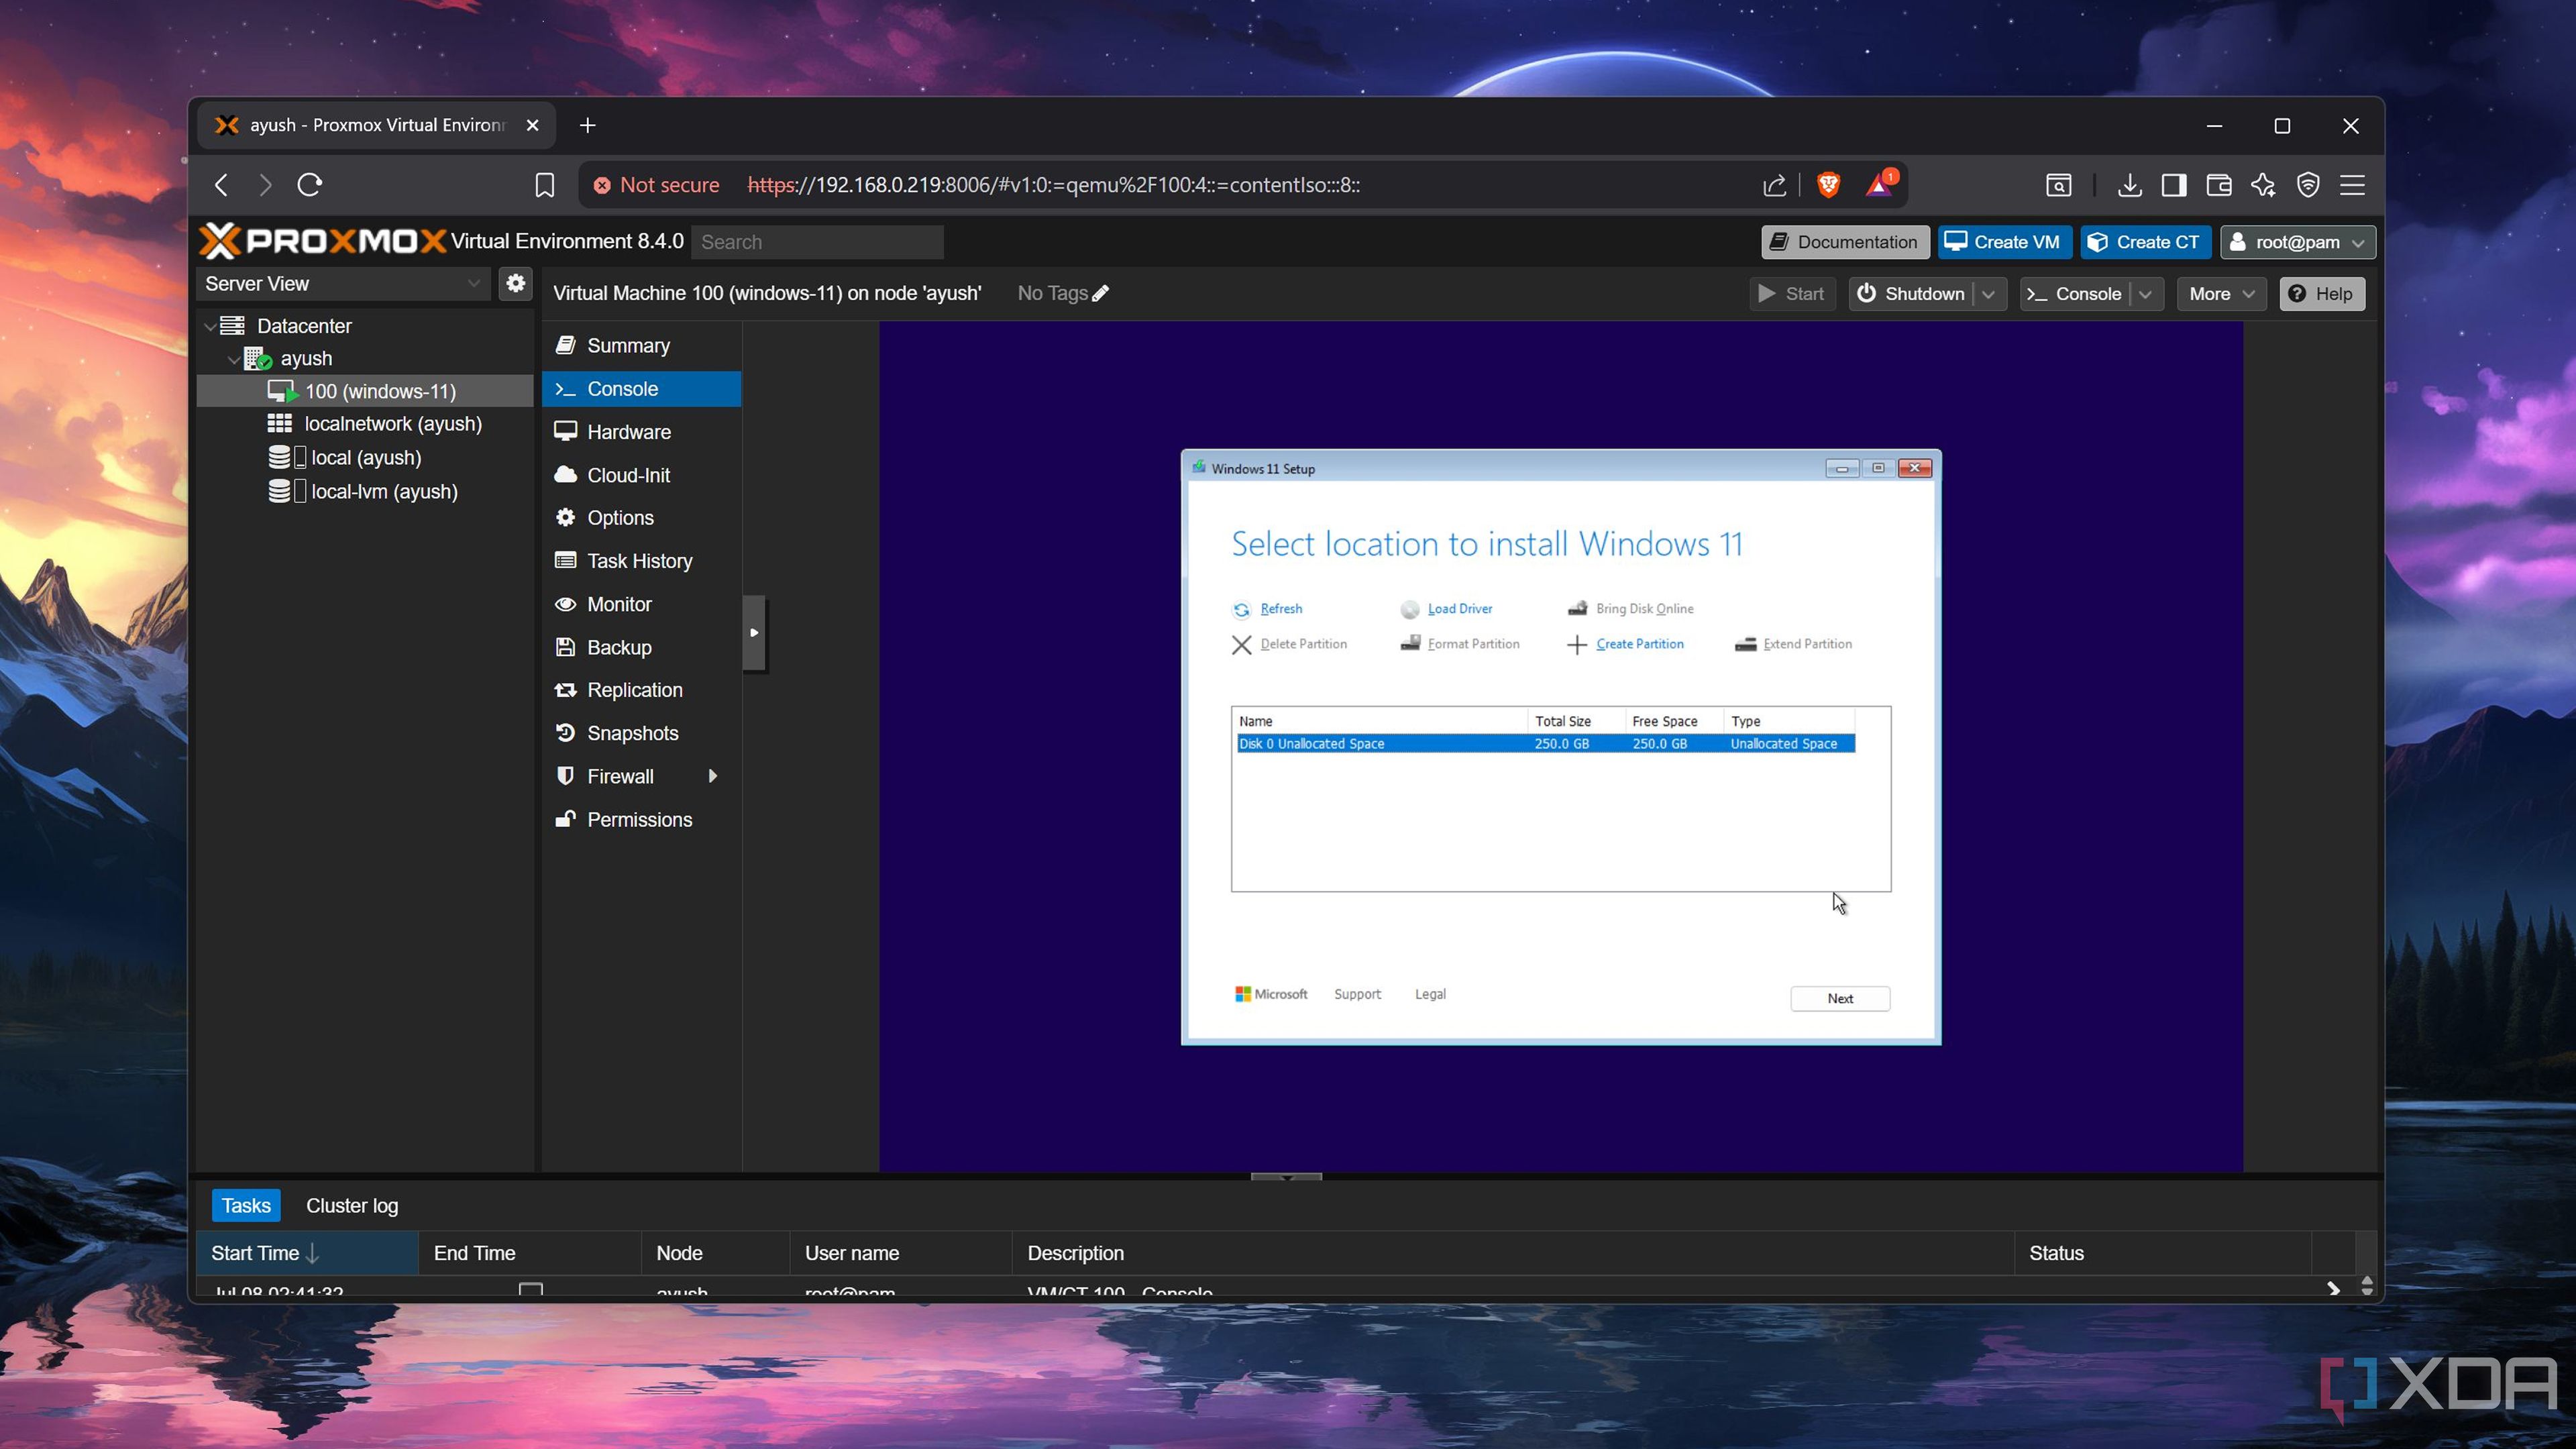
I tend to use a mixture of SSDs and hard drives in my home lab. The former typically serve as boot drives for bare-metal setups and high-speed storage units for projects where transfer rates need to be as high as possible. Meanwhile, I often rely on HDDs to store essential LXC and VM data – including the virtual drives used to install these guests.
But since I want my gaming-oriented virtual machine to be as responsive as possible, I made an exception by deploying it on an SSD. The boot times were pretty reasonable, and the same goes for the loading times on my favorite titles. However, the responsiveness while gaming (or rather, the lack thereof) required me to perform some additional tweaks.
1 Use Parsec to access the VM
It ain’t completely self-hosted, but it does the trick
Despite its issues, I often use QEMU to access my Proxmox virtual machines, though it’s far from ideal for a gaming virtual machine where latency is the devil’s spawn. Heck, I even use the Remote Desktop Protocol to access the dev environment I’ve set up in another Windows 11 VM, and since I used the Pro version of the OS, an RDP setup seems better, right? Well, not quite. While the games aren’t unplayable, the frame rates over an RDP connection are far lower than they should be.
As such, I planned to deploy an Apollo server on my Windows 11 VM and use Moonlight to access it. Unfortunately, my initial attempts ended in failure, and I eventually resorted to Parsec. While it’s undoubtedly a useful application, Parsec’s reliance on the company’s servers for authentication as well as its paywalled features make me less inclined to rely on it. Nevertheless, my Windows 11 gaming VM works exceedingly well with Parsec, assuming I’ve previously installed the GPU drivers and passed the device ID of the graphics processor to my virtual machine, of course.