
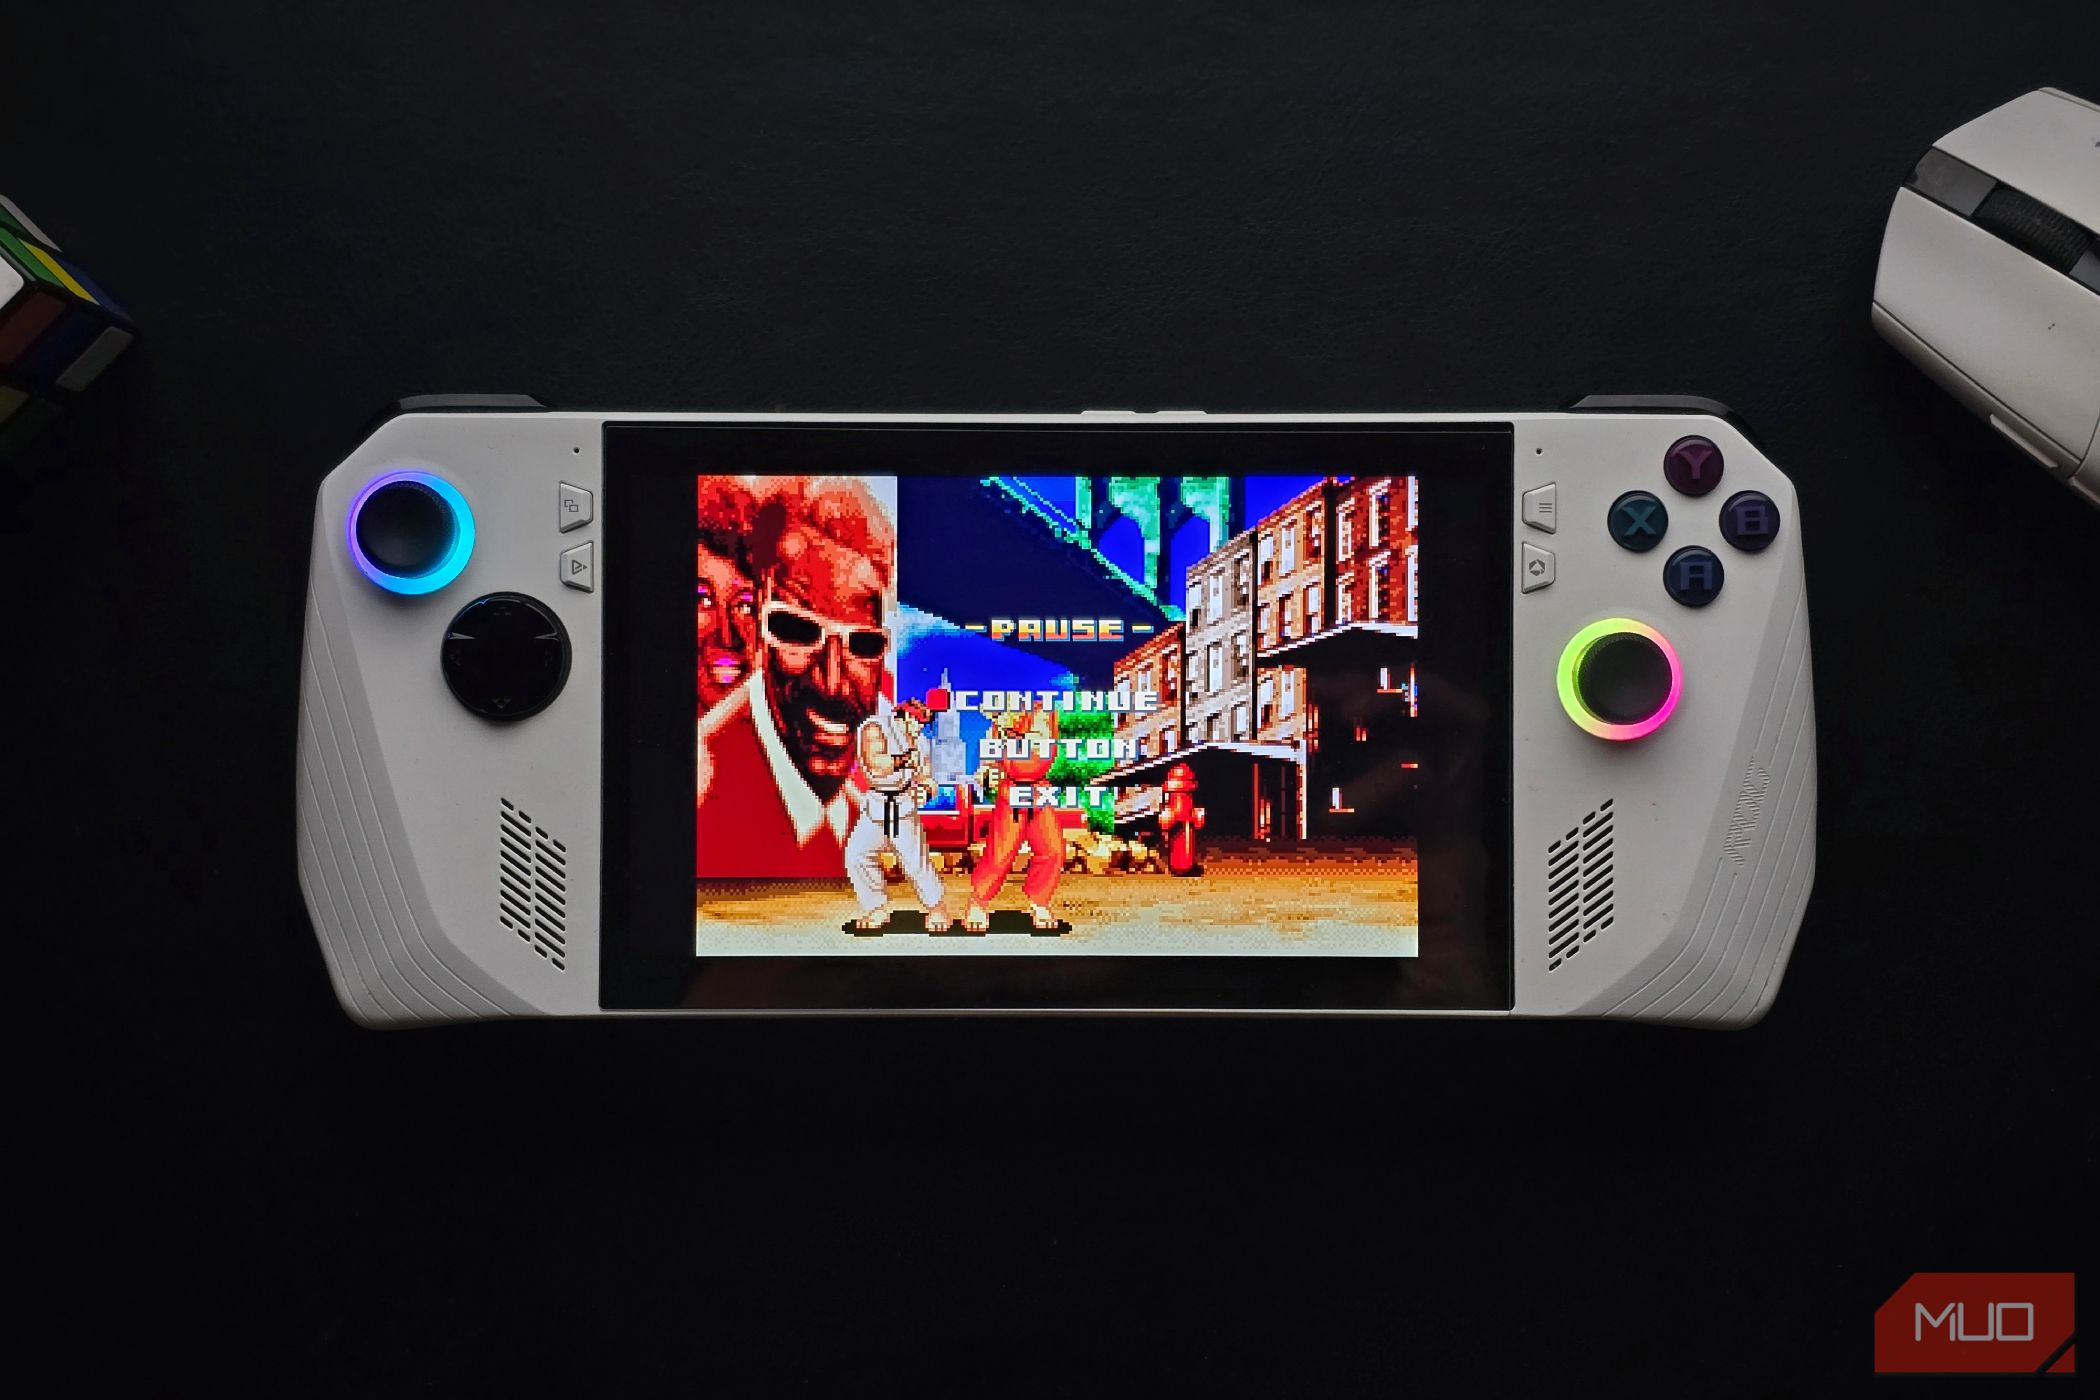
After feeling disconnected from most modern games, I decided to bring back a piece of my childhood. So I built a retro gaming setup on my PC that finally feels like home again
I Built a Retro Console With RetroArch
I grew up playing the PlayStation 2, PSP, and Game Boy Advance, and I still find myself going back to games from those consoles even today. I even emulate older Pokémon games on my Android phone from time to time.
The only issue is convenience. Setting up separate consoles every time I want to play something gets tiring pretty quickly. Between switching inputs, dealing with old cables and adapters, or just the general clutter, it’s not exactly the best experience. I wanted a cleaner, easier way to play everything I loved without giving up that retro feel.
That’s where RetroArch came in. It’s a free emulator frontend that supports a ton of different systems, and it runs on Windows, macOS, Linux, Android, iOS, and more. Everything launches from one place, and it instantly made my PC feel like a proper retro gaming setup. Once I got it working, it felt like I had built the perfect console for myself.
Related
This App Lets You Play PSP Classics on Your iPhone: Here’s How
Your iPhone can emulate all the PSP games you played in your childhood.
Installing and Setting Up RetroArch
To set up RetroArch on your PC, just download the setup from the official RetroArch website and install it like any other app. When you open it for the first time, you’ll see a fairly minimal desktop UI. It doesn’t look like much at first, but once you start loading it up with cores and games, it starts to feel more like a proper console frontend.
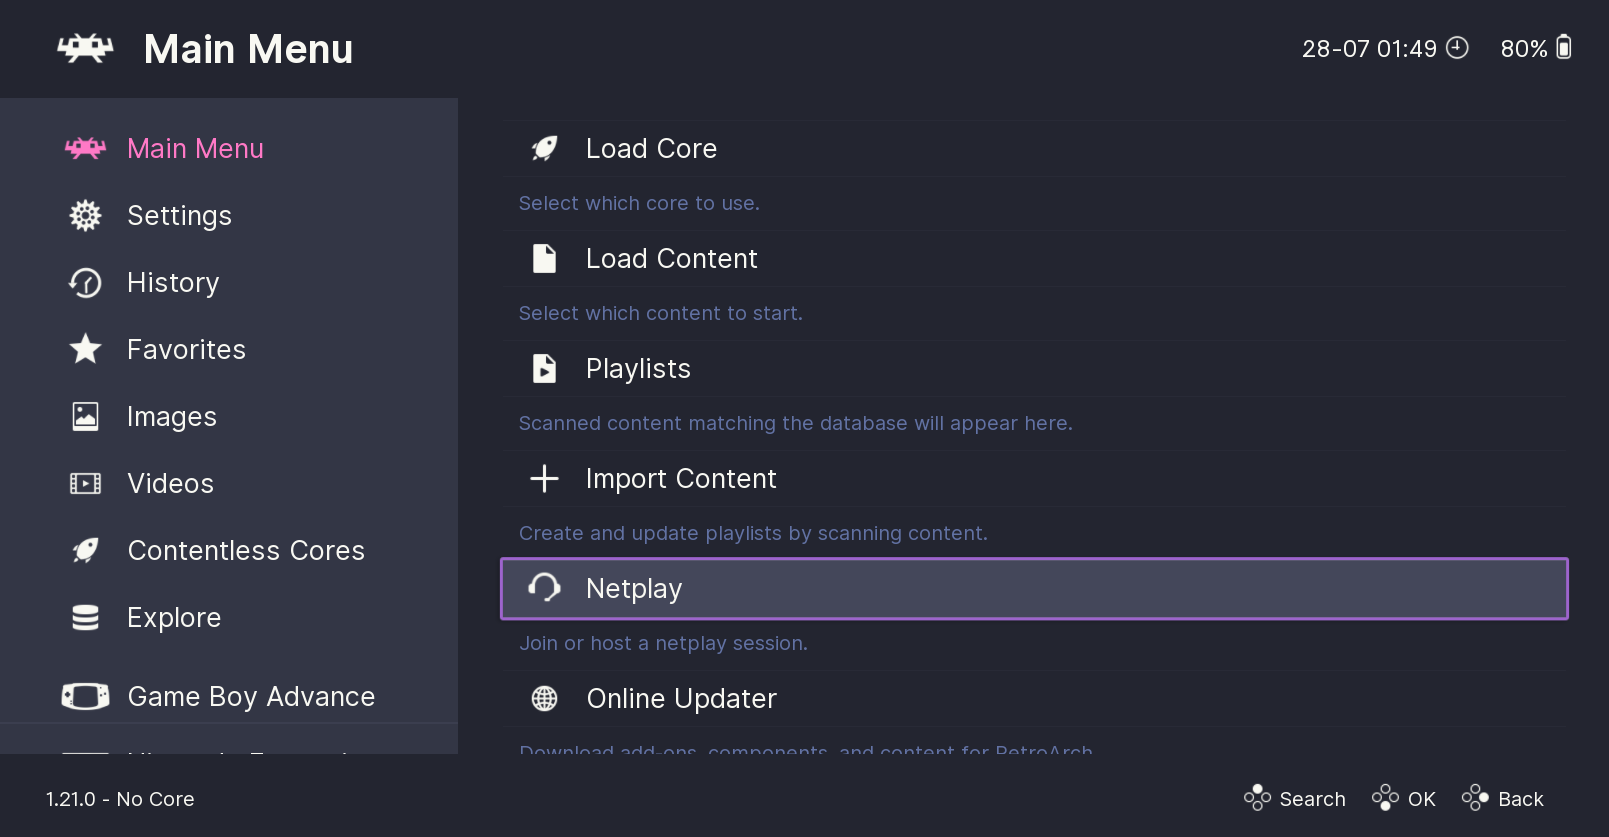
RetroArch doesn’t actually emulate anything on its own—it uses “cores” to do that. A core is basically an emulator for a specific system, and you can download them directly from inside the app. Go to Load Core > Download a Core and pick the consoles you want to emulate. Once you’ve downloaded a few, you can load them through Main Menu > Load Core.
You’ll also notice that some systems have multiple cores available. For example, the GBA has both mGBA and VBA-M. If you’re not sure which one to pick, try loading the same game in both and see which one performs better. You can switch between cores anytime, so there’s no pressure to choose the “right” one up front.
I plugged in an Xbox controller and it worked automatically. If you want to customize controls, head to Settings > Input. You can remap buttons, set custom layouts, and even save profiles for specific games or systems.
Adding Games and BIOS Files
Once you’ve got RetroArch up and running, the next step is to organize your games. I made a dedicated “Retro Games” folder on my PC and created subfolders inside it for each system, like GBA, NES, and so on. It just makes things easier to manage, especially when you start building out your library with different file types like ROMs or ISO files.
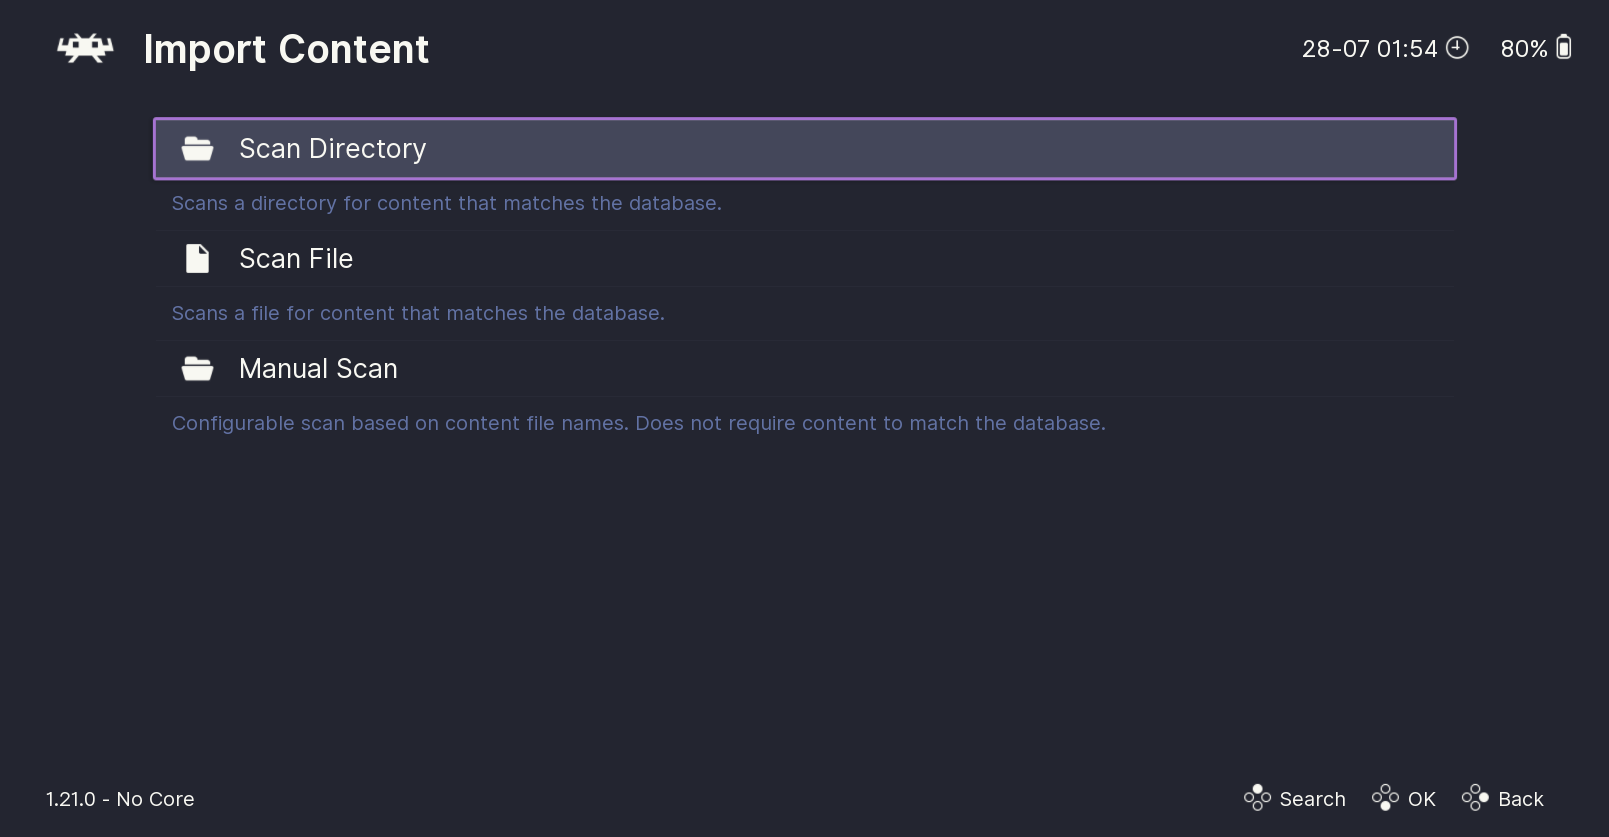
Once your games are sorted, you can scan your library by going to Main Menu > Import Content > Scan Directory and selecting the folder that contains your ROMs. RetroArch will automatically add them to your playlist, complete with box art and metadata if it recognizes the files.
For most older systems, all you need is the game file. But for some cores, especially for consoles like the PlayStation, you will need the BIOS files too. A BIOS is essentially the firmware that ran on the original console, and some games won’t boot without it. The process of getting a BIOS file legally involves extracting it from your own hardware.
It’s a bit technical and varies depending on the system, but generally involves running a tool on your console to dump the BIOS file, then transferring it to your PC. RetroArch looks for these in the system folder, which you’ll find inside its install directory.
To play a game, just select the console you want to emulate in the main menu, pick the title, and choose a core when prompted, and the game will start running.
Related
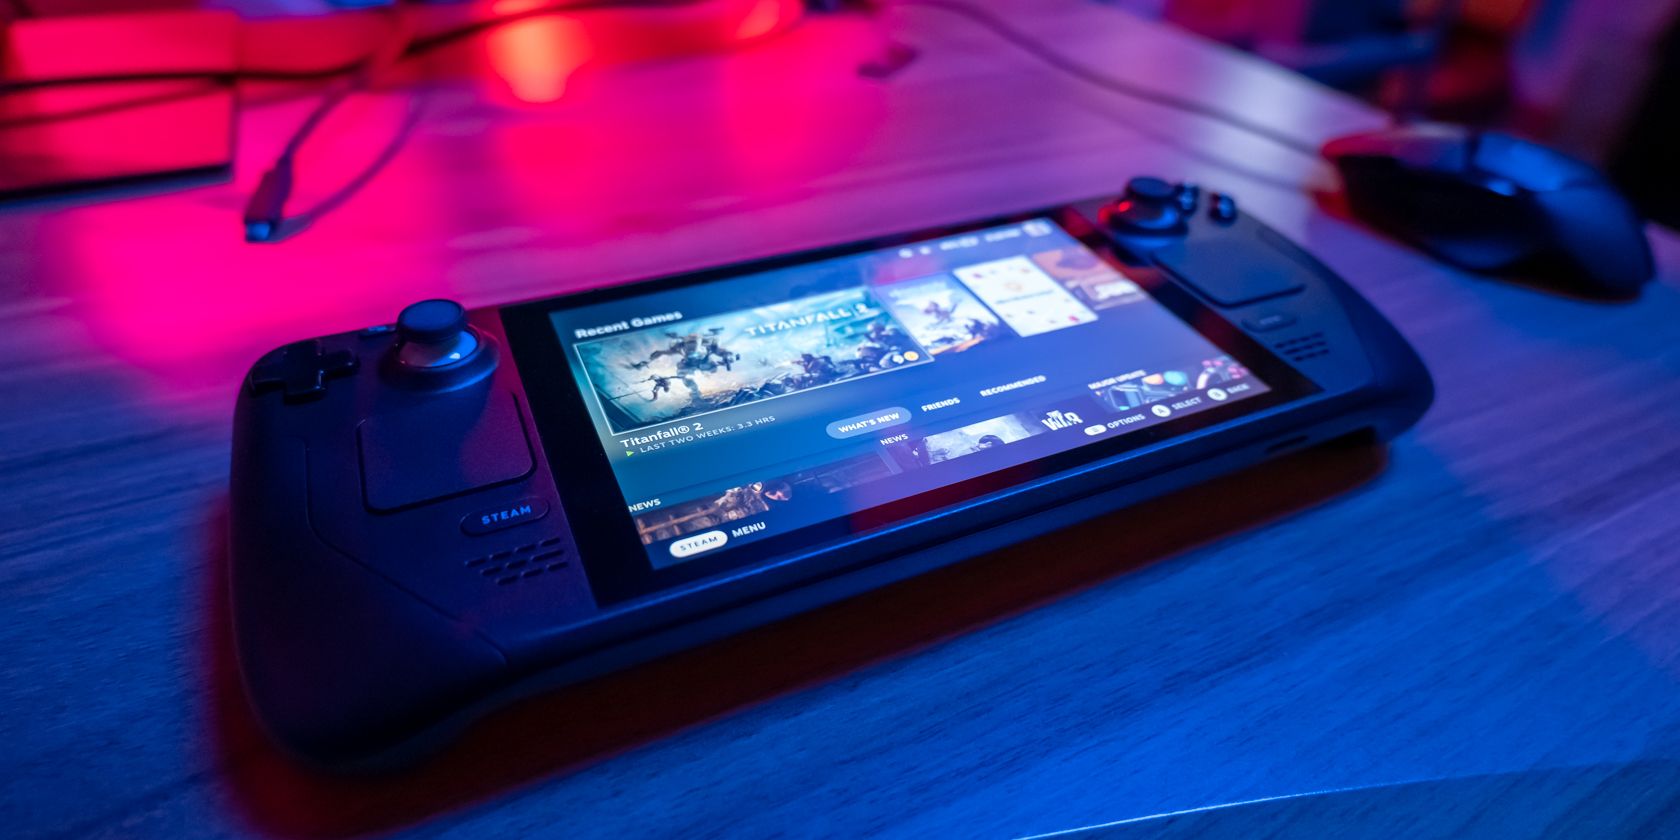
How to Play Emulated Games on Your Steam Deck With EmuDeck
EmuDeck is a user-friendly option for those who want to emulate games on their Steam Deck.
Making RetroArch Feel More Like a Console
For starters, if you want your games to look the way they did on the original consoles, you can use RetroArch’s shaders to make them feel like you’re playing on an old CRT TV. If you’re using your setup as a couch console connected to a TV, the default RetroArch interface isn’t great for that kind of experience.
It’s more suited to a keyboard and mouse, and it doesn’t feel all that intuitive with a controller. You’ll probably want cover art for your games too, especially if you plan to scroll through your library using a controller.

To add box art automatically, go to Main Menu > Online Updater > Thumbnails Updater and select the system you want artwork for. It pulls in cover art and game metadata for most recognized titles. Just make sure your games have already been scanned and added to your library beforehand, otherwise the art might not work properly.
To switch to a more console-like interface, go to Settings > Drivers > Menu and change the menu driver to xmb. This gives you the same crossbar layout that the PS3 had. I grew up on PlayStations, so this layout feels natural to me, but I get that it might not be everyone’s thing.
If you are still looking for something with a more retro-focused theme, I also recommend EmulationStation. It’s a separate frontend that sits on top of RetroArch and gives you a fully themed dashboard that works well for big-screen setups.
If you’re on an iPhone and want something simpler, there are plenty of great emulators for iOS as well. For most people though, I’d still recommend sticking with RetroArch as it does pretty much everything you’d need.