
Summary
- Use Sunshine & Moonlight to stream PC games to various devices, including Raspberry Pi, via self-hosted server.
- Setting up and connecting Sunshine on your PC and Moonlight on your Raspberry Pi is straightforward and free.
- Adjust quality settings based on Wi-Fi network strength and other factors to optimize gameplay experience.
My gaming PC is loud. Within minutes of booting up a game, it’s a pixel-pushing jet engine—not the sort of thing I want sitting in my living room drowning out my TV while I play games on the big screen. Here’s how I solve it by streaming from my PC to a smaller, less obtrusive Raspberry Pi.
Sunshine and Moonlight Let You Stream PC Games to Nearly Any Device
Sunshine is a self-hosted game streaming server for Windows and Linux that works with a wide range of hardware (NVidia, AMD, and Intel are supported), and streams games from your own PC, rather than a cloud service.
Once Sunshine is installed, you connect to it from Moonlight, a game streaming client which works on almost every device you could potentially play games from, including PCs, macOS devices, Apple and Android phones and tablets, game consoles, smart TVs, and, of course, the humble Raspberry Pi.
So, my plan: leave my noisy behemoth of a PC in my office running Sunshine, and connect to it using a Raspberry Pi, which is silent and can be moved around the house to whichever screen I want to game on. But will the Pi have the power?
Setting up Sunshine for Game Streaming on Windows
The process for setting all of this up is almost too easy for something that is 100% free and open-source. To install Sunshine, you just have to download the installer from the developers’ website (you may need to scroll down a bit to see the link to the GitHub download page), and then run the installer. Here’s how I got it all set up on Windows 11.
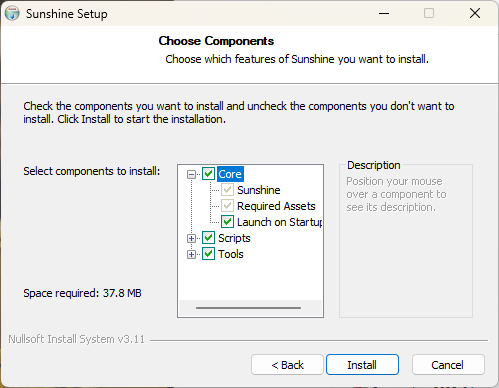
I won’t lead you through clicking through the whole install process; It’s all very standard. Just leave the settings as they are and click “Next” until you are asked to choose which components you want to install, then click “Install”.
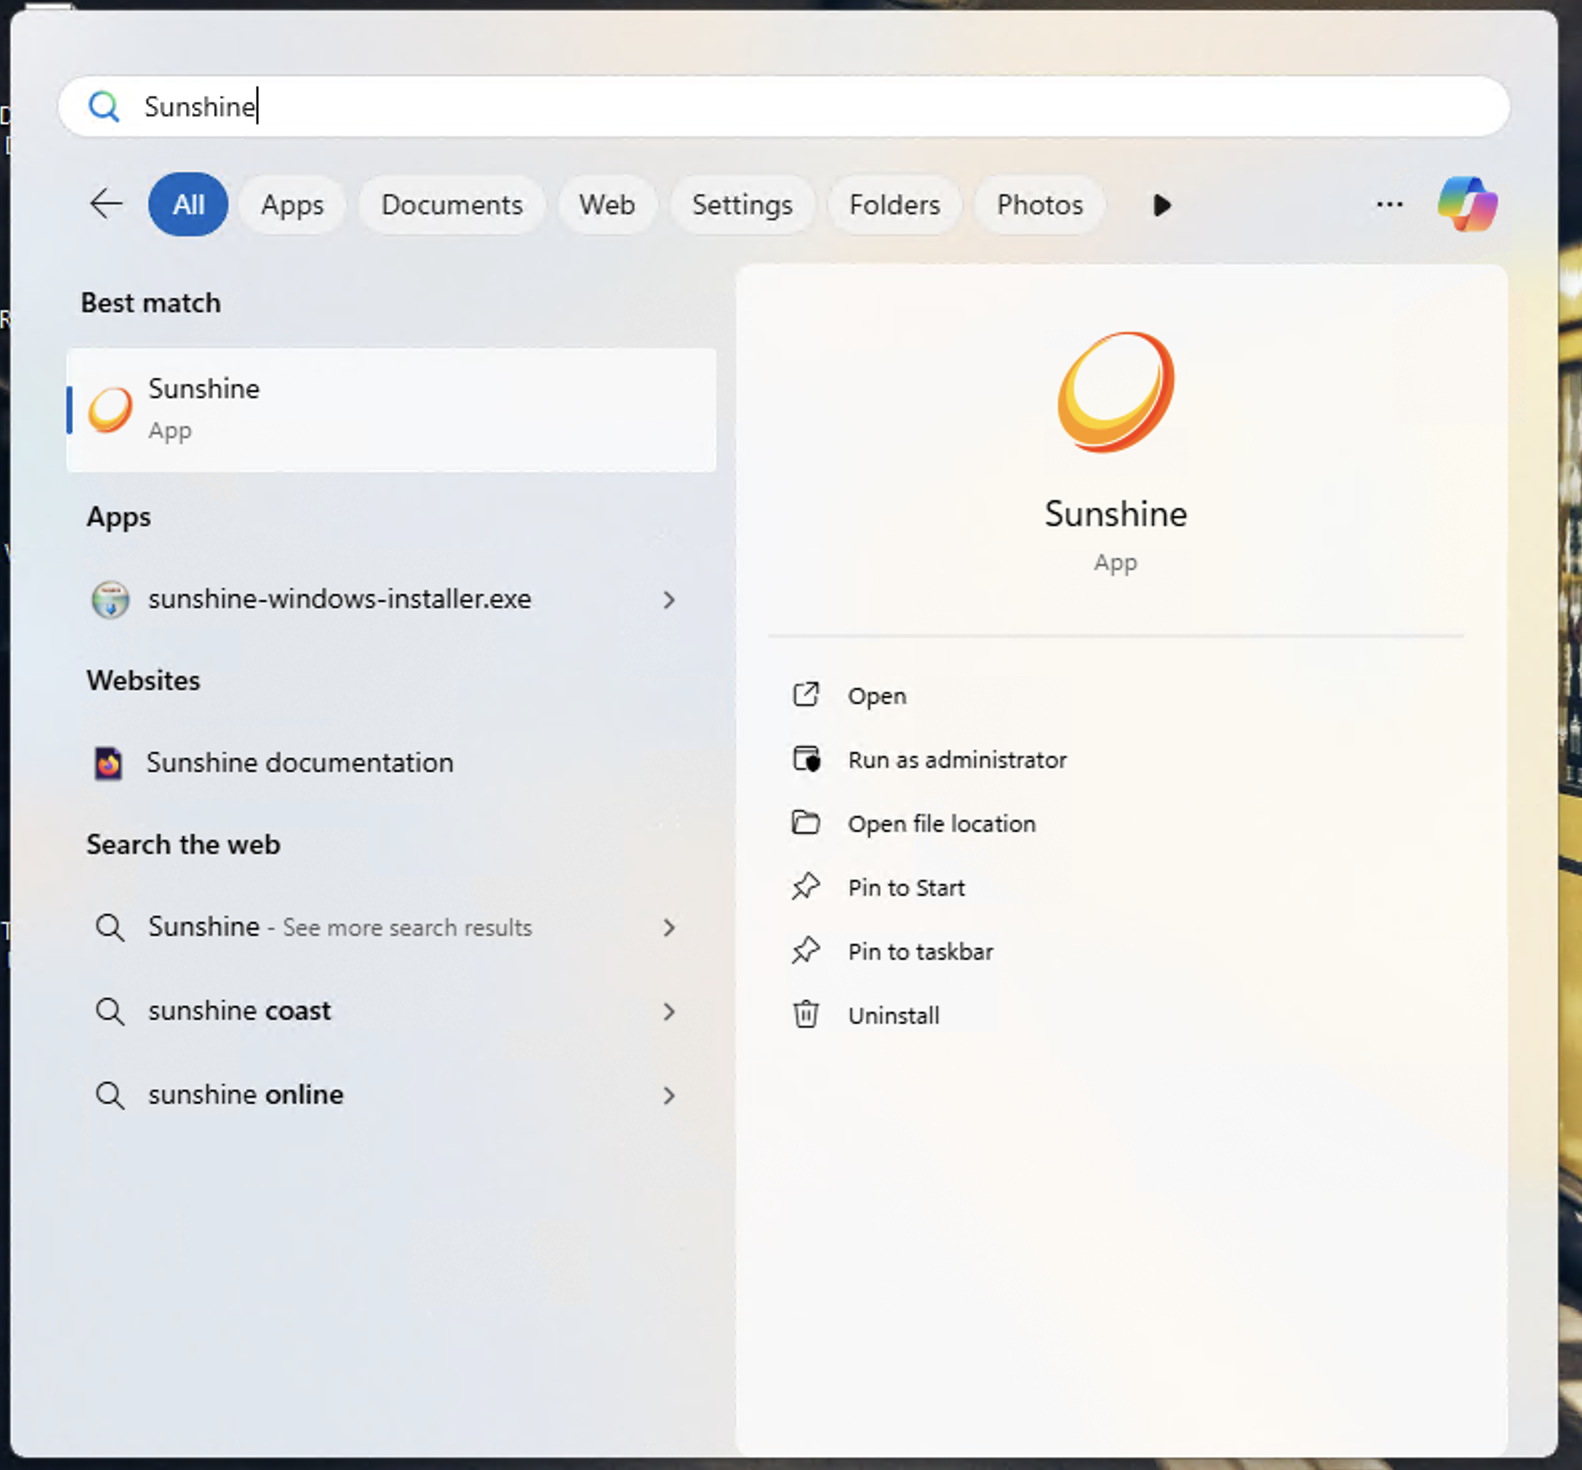
You can then launch Sunshine from the Start menu. When launched, it runs in the background, leaving an icon in the system tray that you can right-click on to open the configuration interface.
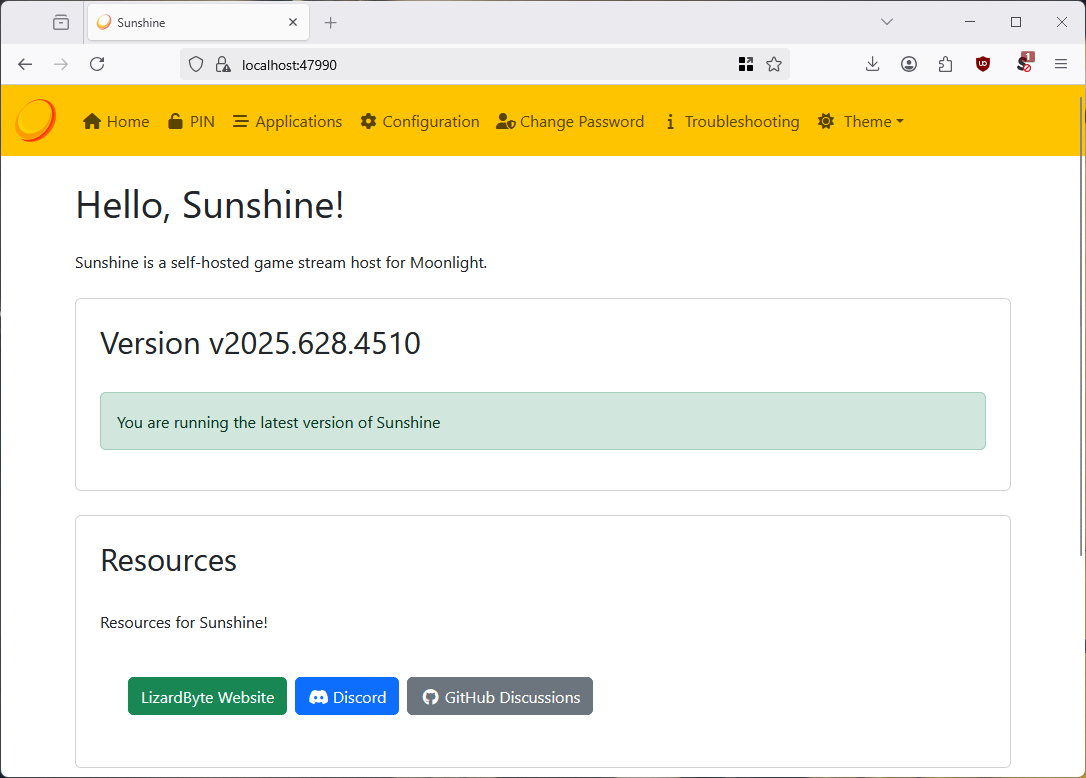
When you open Sunshine, the web UI configuration interface will appear, or you can open it from the icon in the system tray. From here, you can set a password (which I recommend), make configuration changes (not really recommended unless you need to, everything worked for me out-of-the-box), and connect client devices.
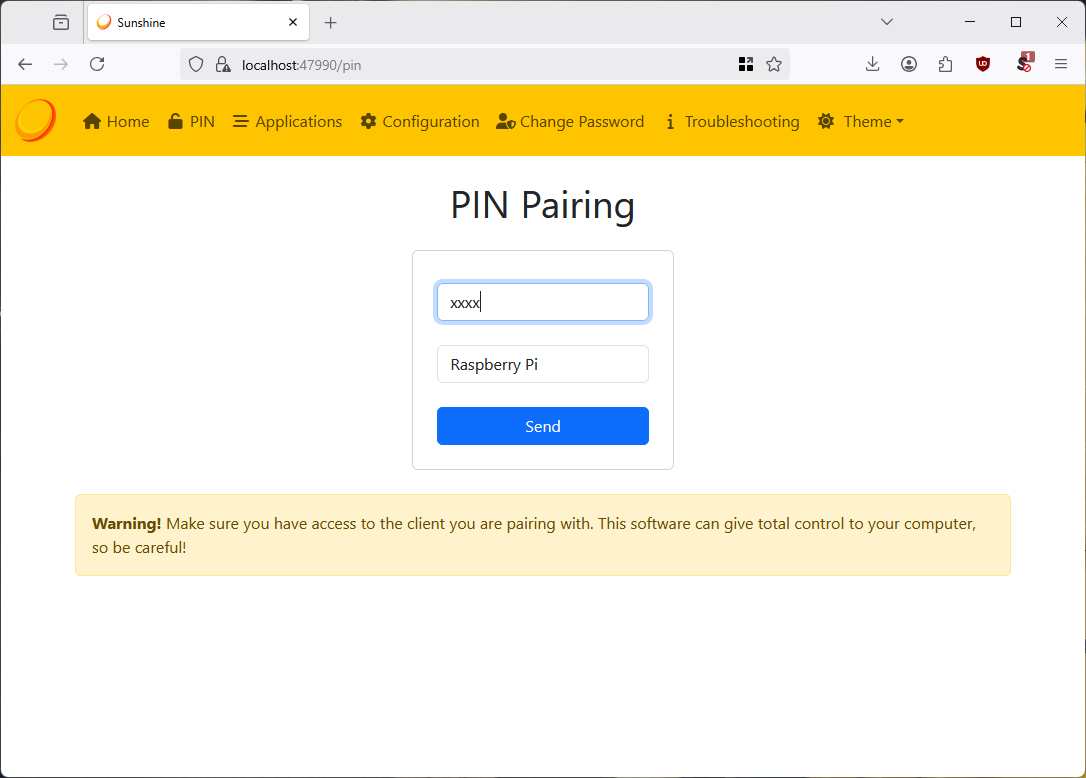
Once you’ve set a strong password, click on the PIN menu item in the menu bar to access the PIN Pairing screen, which you’ll soon use to connect your Raspberry Pi using Moonlight.
Setting Up Moonlight to Connect to Sunshine and Play Games
Installing Moonlight on a Raspberry Pi is also a straight-forward process. I’m using a 4GB Raspberry Pi 4 running Raspberry Pi OS 64-bit. Make sure you’re running the latest version of Raspberry Pi OS, as older versions need extra configuration to enable HEVC support, which is an added hassle.
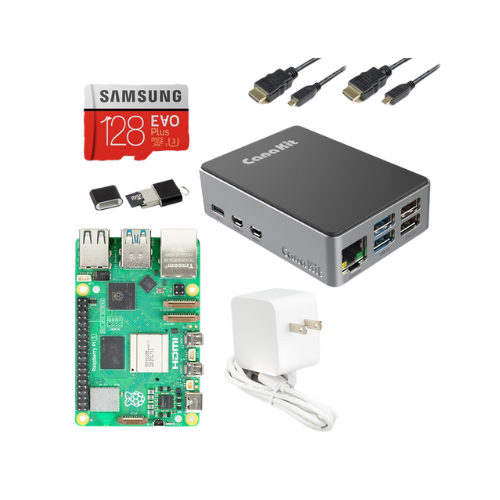
CanaKit Raspberry Pi 5 Starter Kit
CanaKit’s Raspberry Pi 5 Starter Kit includes everything a user needs to pick up and go, including a 128 microSD loaded with the Raspberry Pi OS.
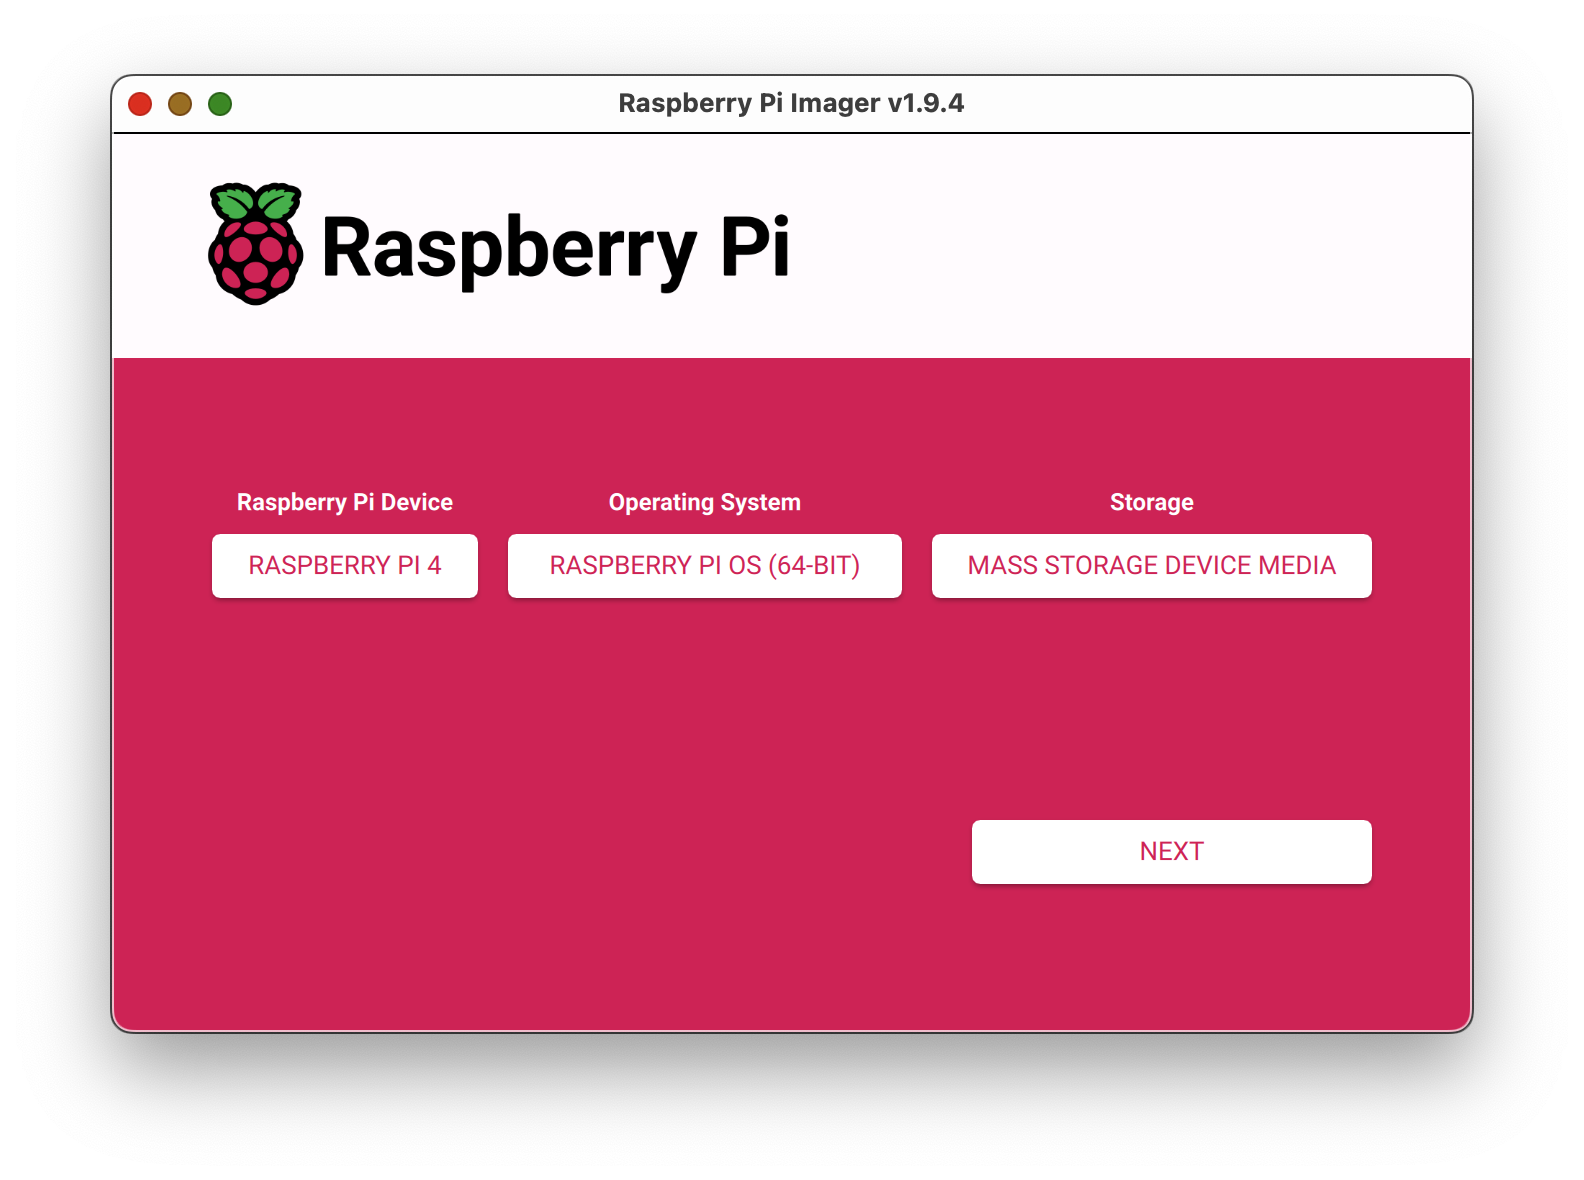
You can install Raspberry Pi OS on an SD card using the Raspberry Pi Imager from the official website. Just choose your device, the 64-bit version of Raspberry Pi OS, and your SD card in the imager interface, and leave it to do its thing.
Download and install Moonlight Qt on your Raspberry Pi by following the instructions from the GitHub releases page. Make sure you’re downloading Moonlight Qt and not the embedded version that also works on Raspberry Pi, which is best for Raspberry Pi 3 and older devices.
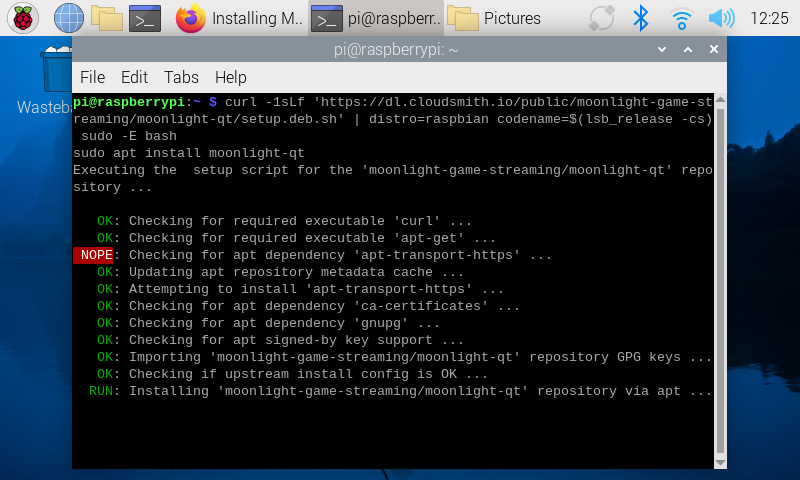
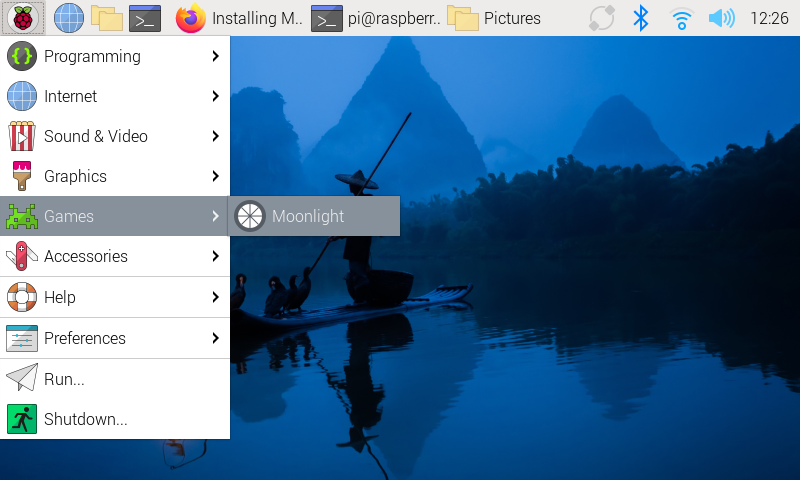
Once the Moonlight install script has completed, it’s ready to use.
You should always check the reputation and contents of scripts before running them!
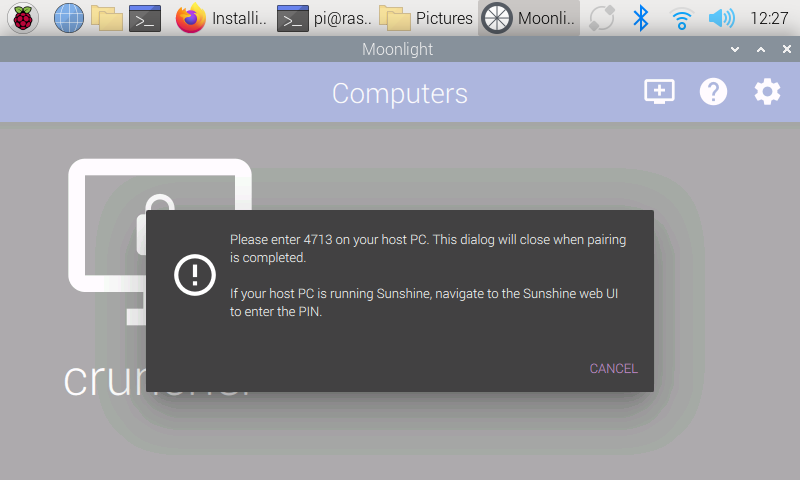
After you’ve opened it, any PCs running Sunshine on the same local network will appear in the Moonlight interface. Clicking on one will give you a PIN to enter into Sunshine to pair them.
Back over to Sunshine, enter this PIN and give your client device a sensible name.
And we’re done, you can now open a game streaming session from Moonlight to Sunshine.
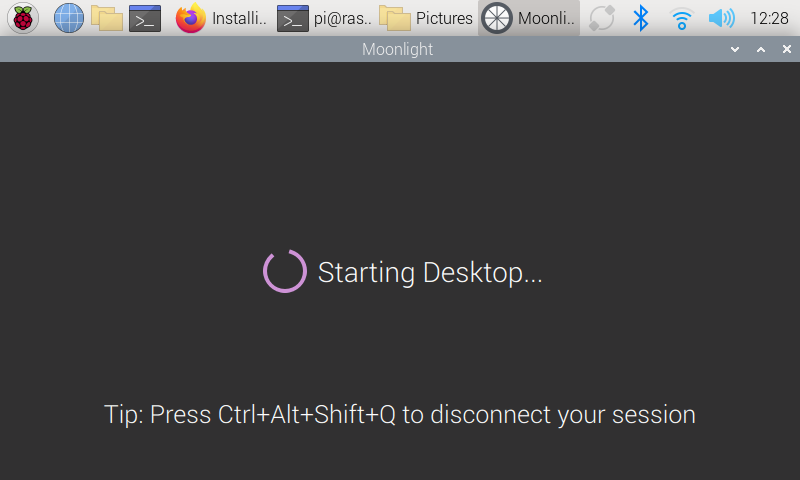
Your whole Windows desktop will be shown, you can launch games, and everything will run locally. You can also pair a game controller and the input will be passed to the host PC just as if the controller were connected to it. If at any point you need to quit your session, Ctrl+Alt+Shift+Q is the magic key combination to do so, which I kept forgetting.
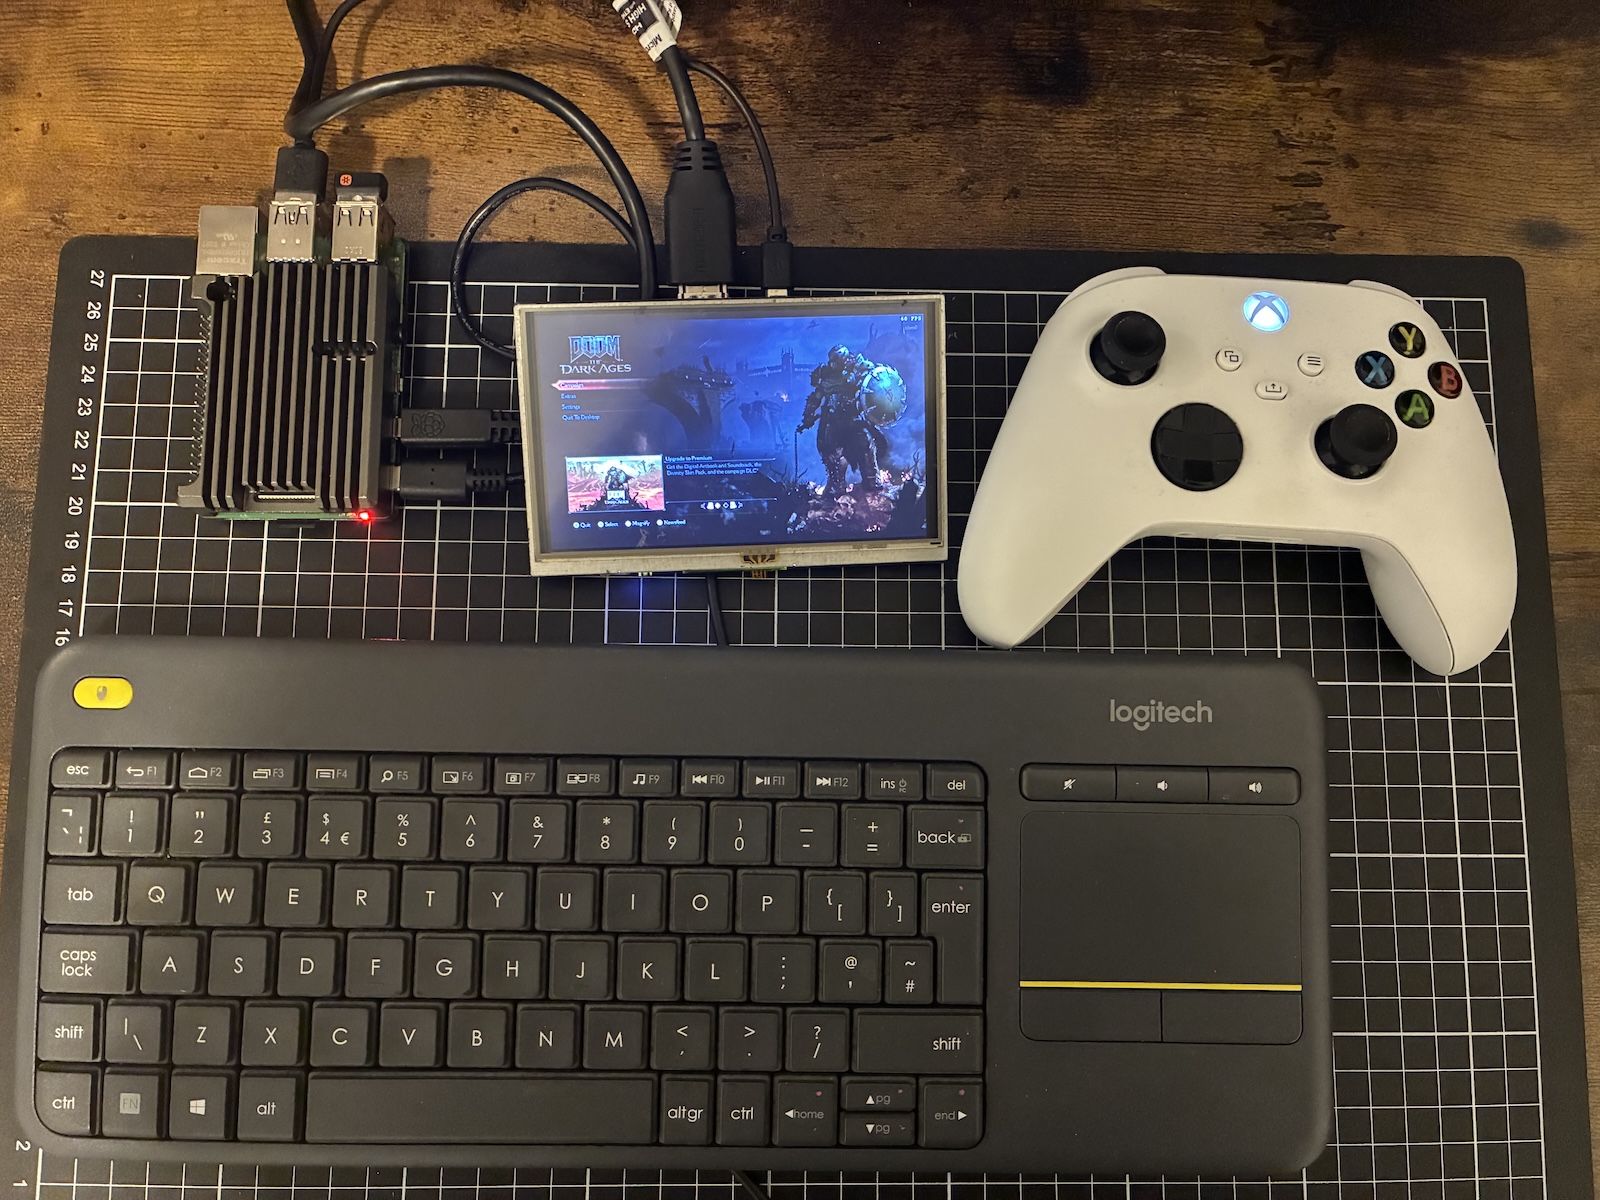
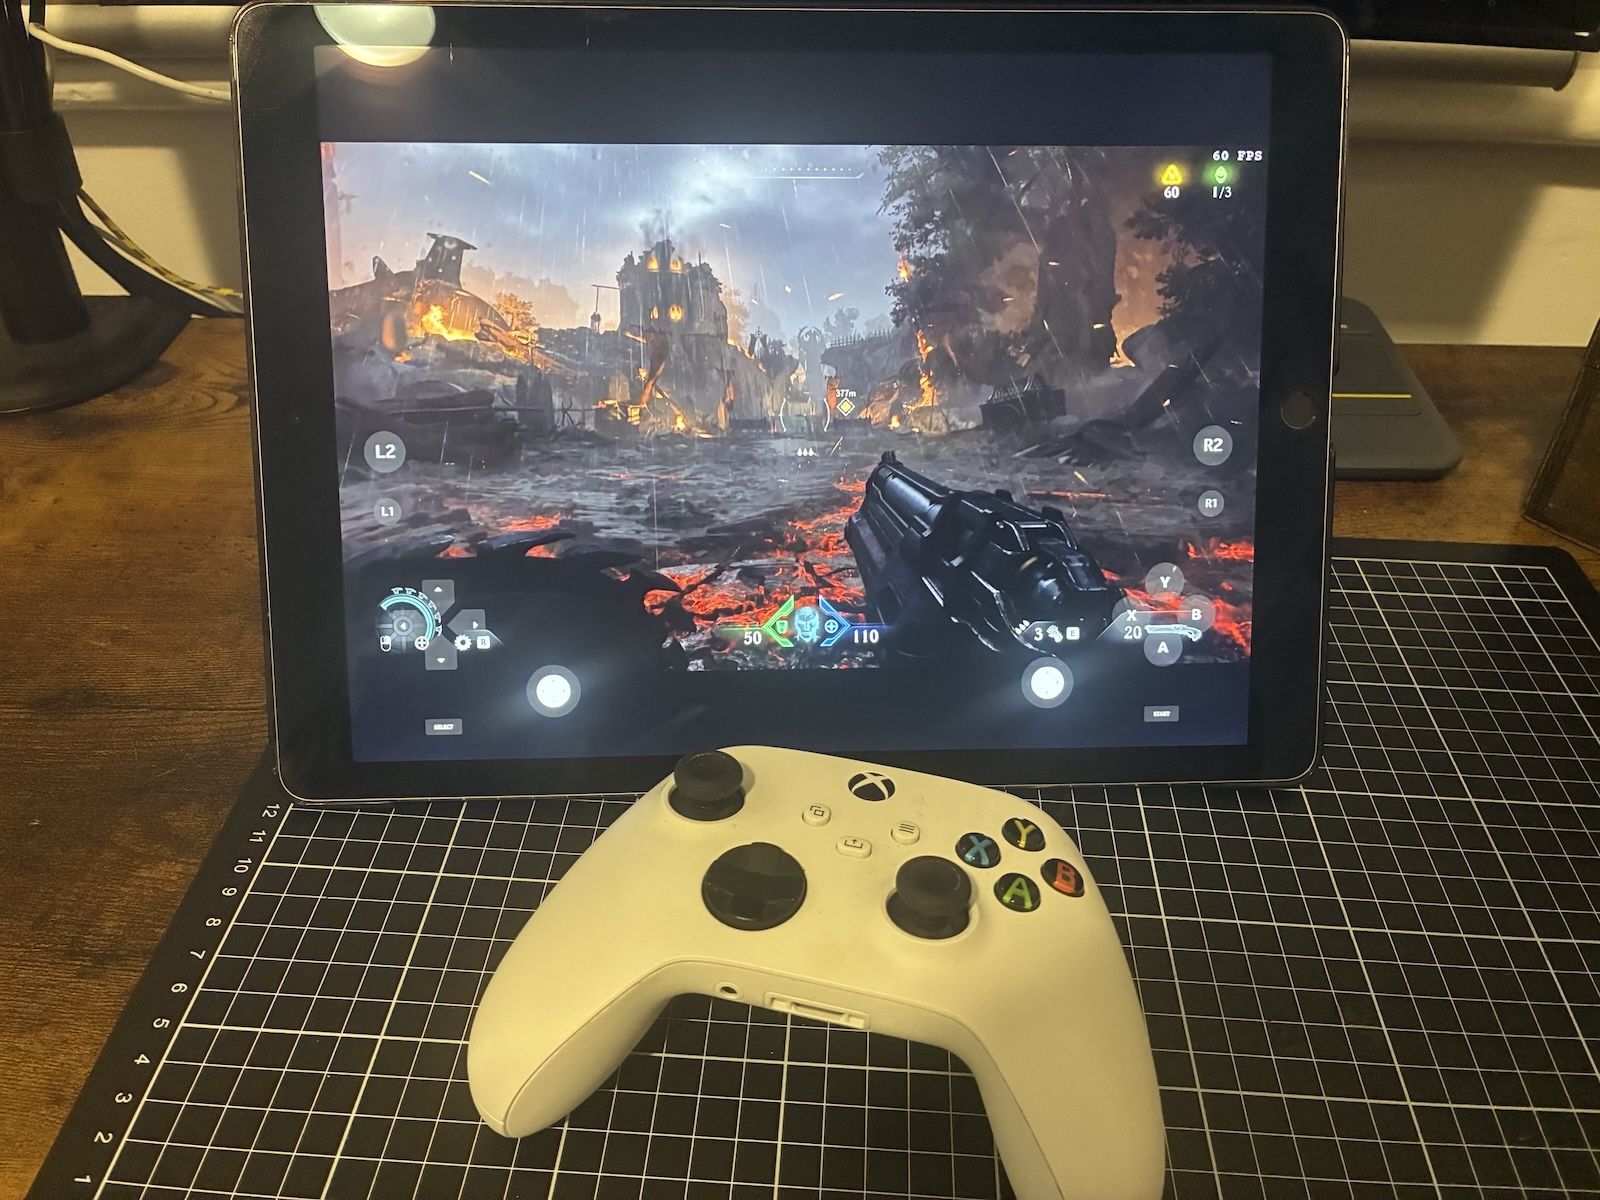
Above, you can see my test setup with an Xbox controller paired to the Pi using Bluetooth. With everything working, time to move it over to the TV and see how things perform!
Testing, Tweaks and Quality Settings
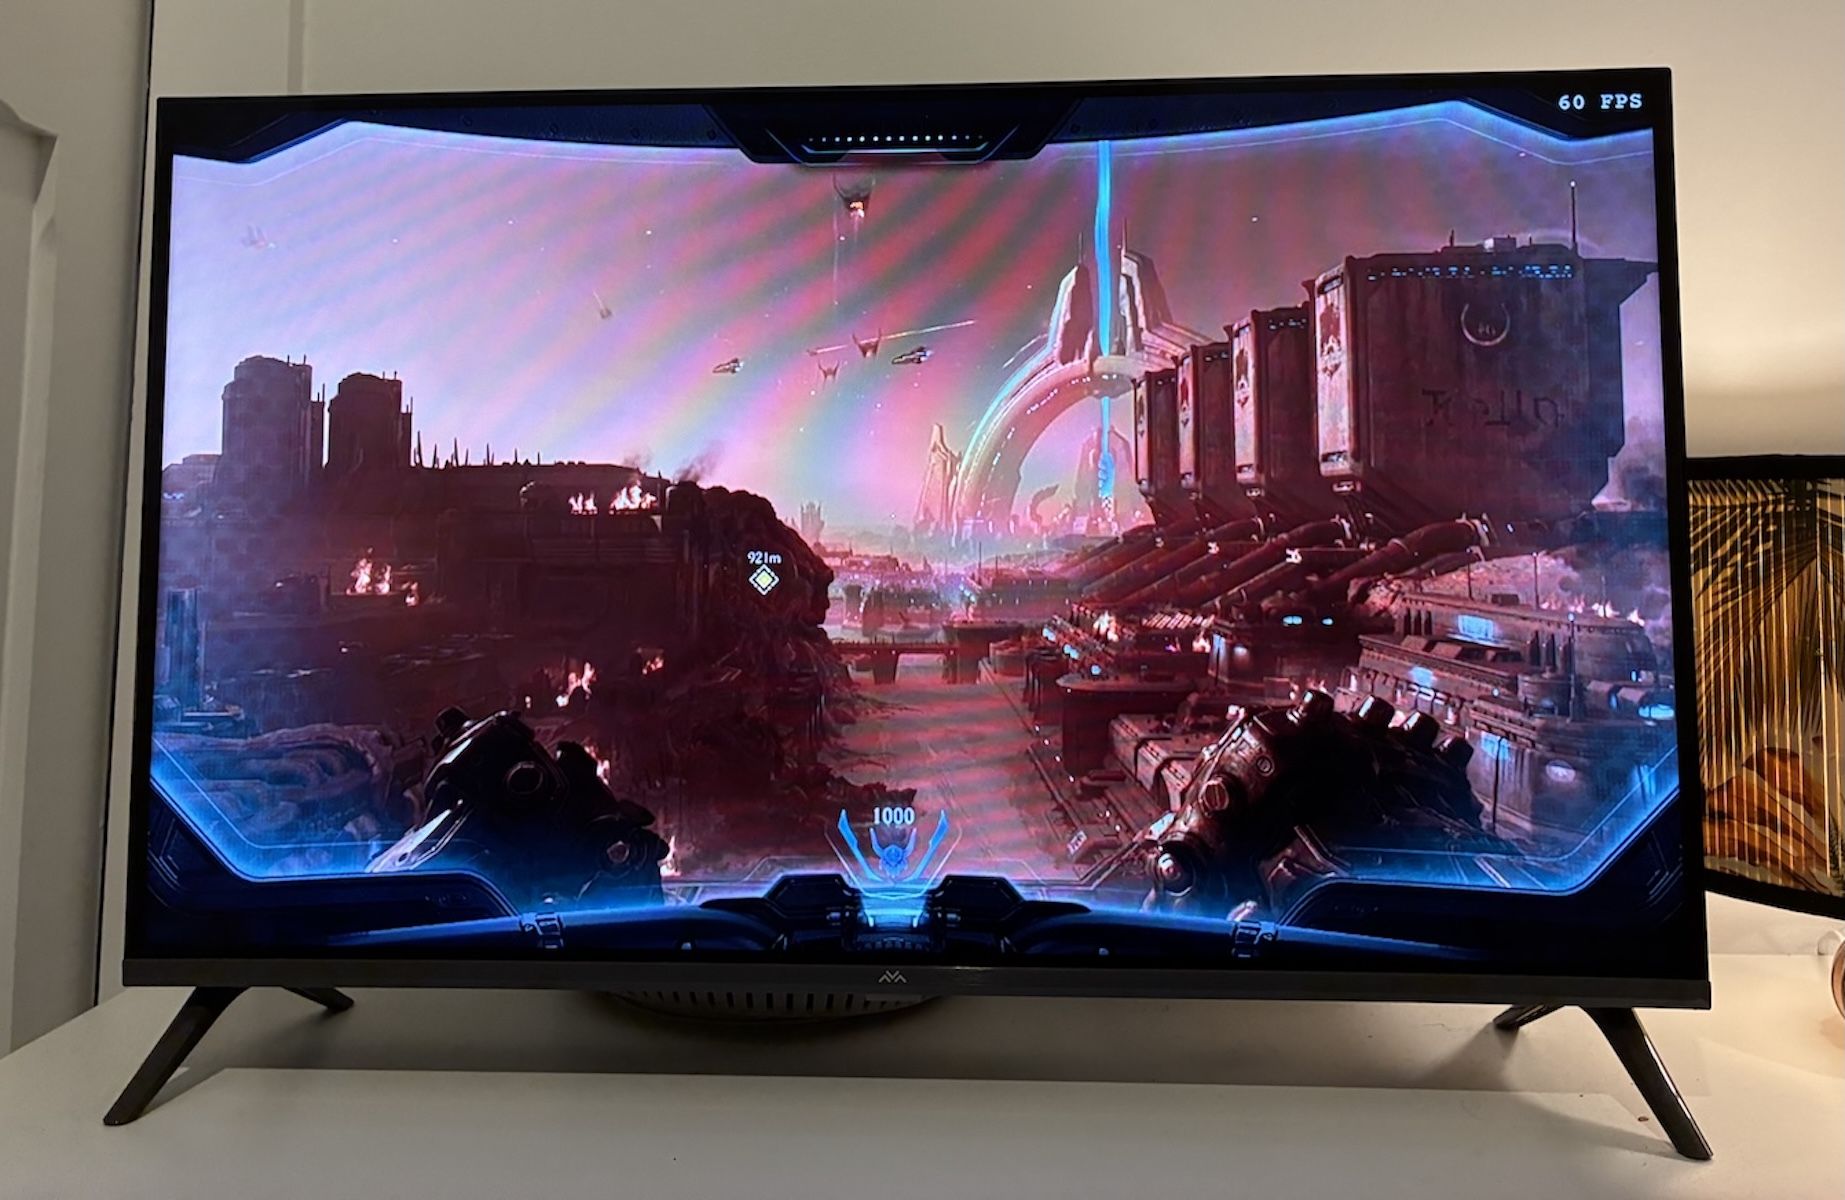
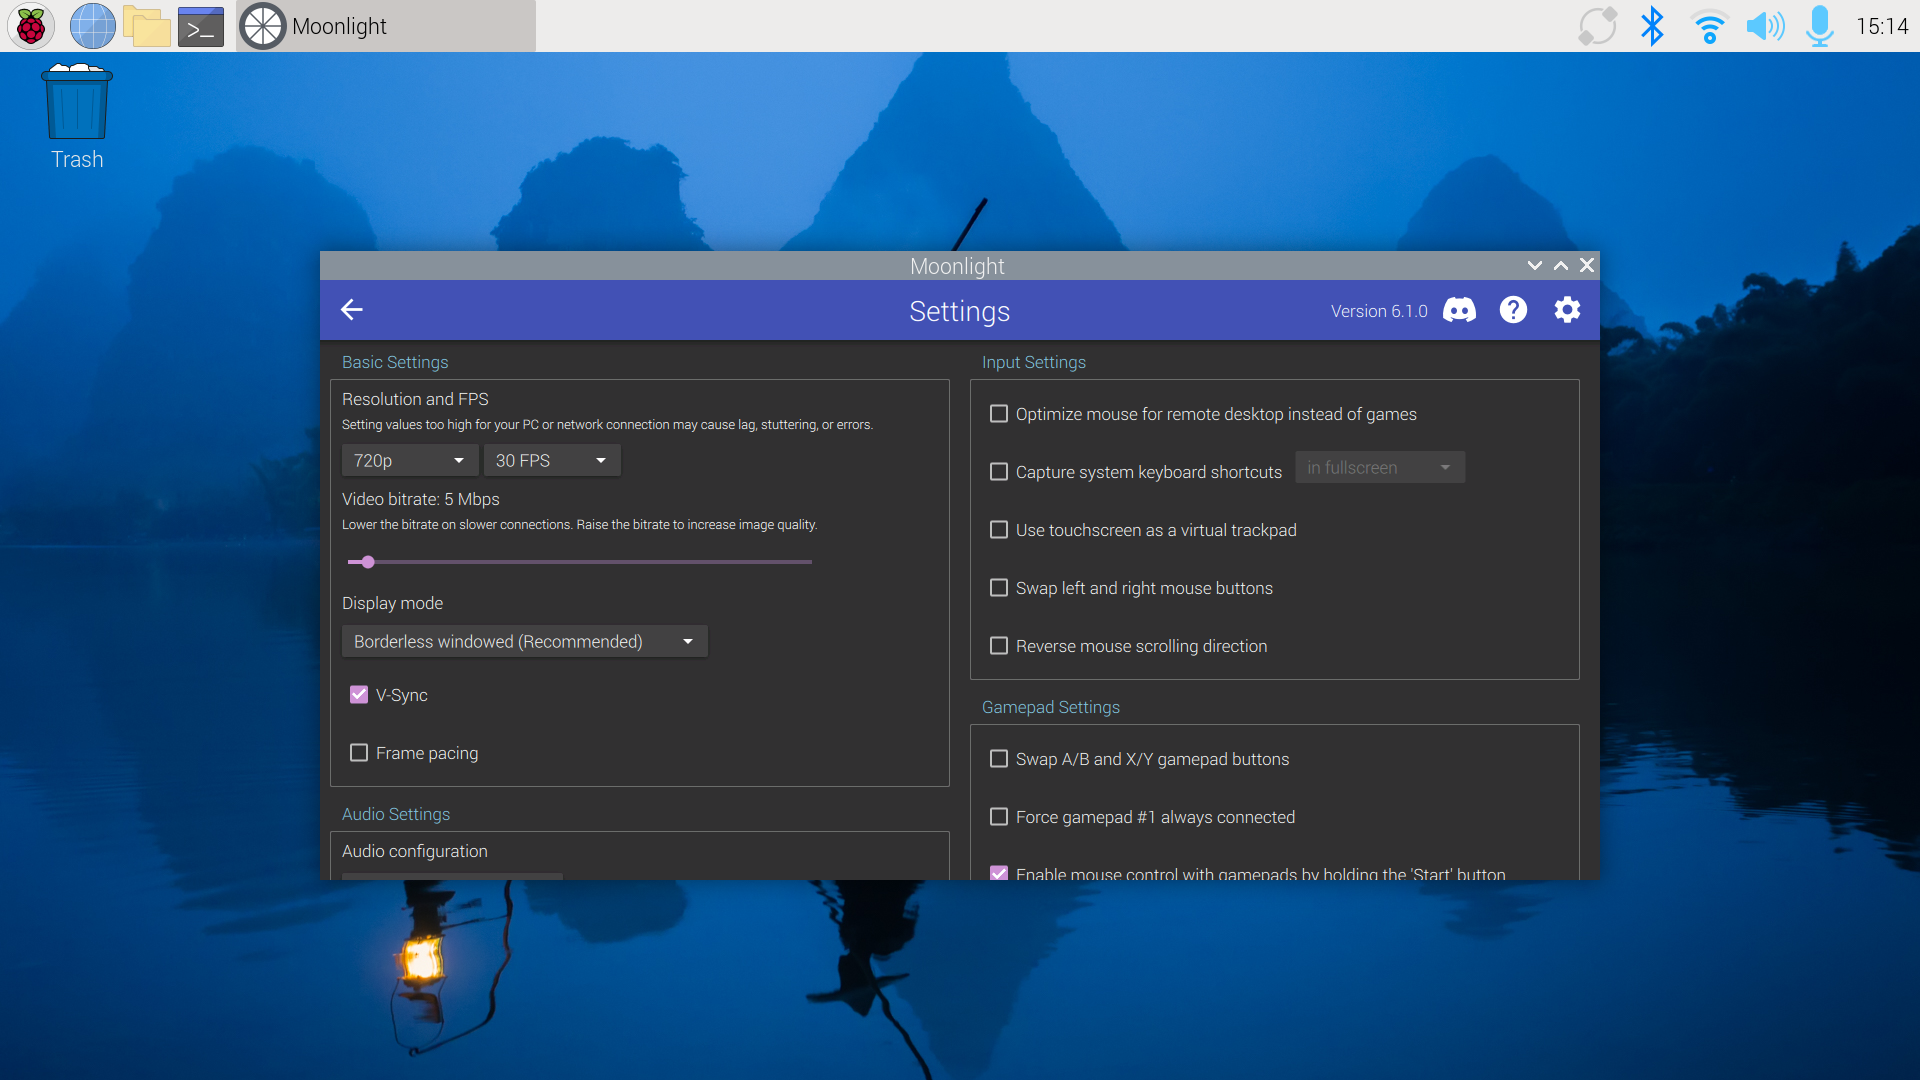
Not bad! However, the default settings (720p at 60FPS) resulted in a bit of stuttering, so I lowered it to 30FPS. This is done on the Moonlight side by clicking on the settings gear icon. Your results will vary, however, due to differences in Wi-Fi signal strength, interference, distance to your router, and overall network speed.
Picture quality is acceptable for a bit of casual use, but if I want to do any high-def gaming, I’ll probably use Moonlight to stream to my Xbox One, which is on a wired network and seems to handle full-HD streaming without breaking a sweat. I can even stream to my old iPad.
You could also try and take this setup on the go, and connect your Sunshine server and Moonlight client device to a VPN like Tailscale, and stream games from your home to your mobile device (DOOM on the bus!). How usable this is will probably depend on how good the mobile service is in your region, however.
It’s worth a quick note about how exactly Sunshine works, and why it’s so much better than regular remote desktop software: it captures the output of your graphics card (GPU) directly, so the actual resolution it uses is the same as on your gaming PC; It’s just downgraded for streaming. So you could be running at 4K and 60FPS on your gaming PC, but a downgraded resolution and framerate on your Moonlight client if you need a lower bitrate for a slower network.
This also means that you must have a monitor plugged into your gaming PC while streaming, or there’s nothing for your GPU to render to, and nothing for Sunshine to stream.
Other Ways to Stream Games to Any Device
Not having a beefy gaming PC no longer prevents you from playing many high-requirement PC games, as there are many commercial streaming services that host all of the hardware for you and just let you bring your mobile device.
Xbox Cloud Gaming, NVidia GeForce Now, and Amazon Luna all let you stream games from the cloud to your mobile devices, letting you keep up with the latest gaming releases, without having to make a big hardware investment.